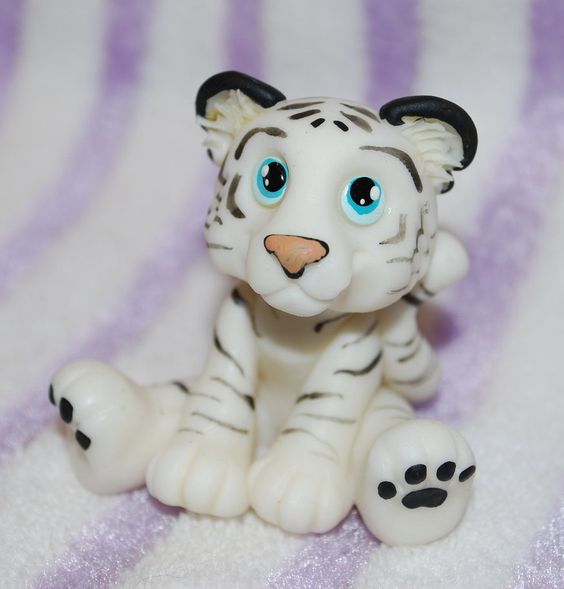
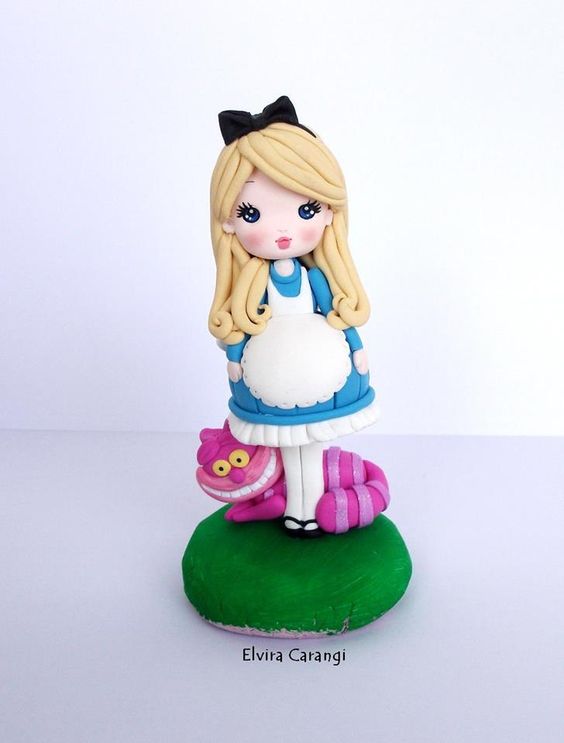
Absolutely everyone can create beautiful figures, brooches and other products with their own hands. To do this, use different materials, including cold porcelain. It is affordable and at the same time very malleable for modeling. In addition, it can be made even at home and at the same time it will not differ from the porcelain that is sold in specialized stores.
Cold porcelain features
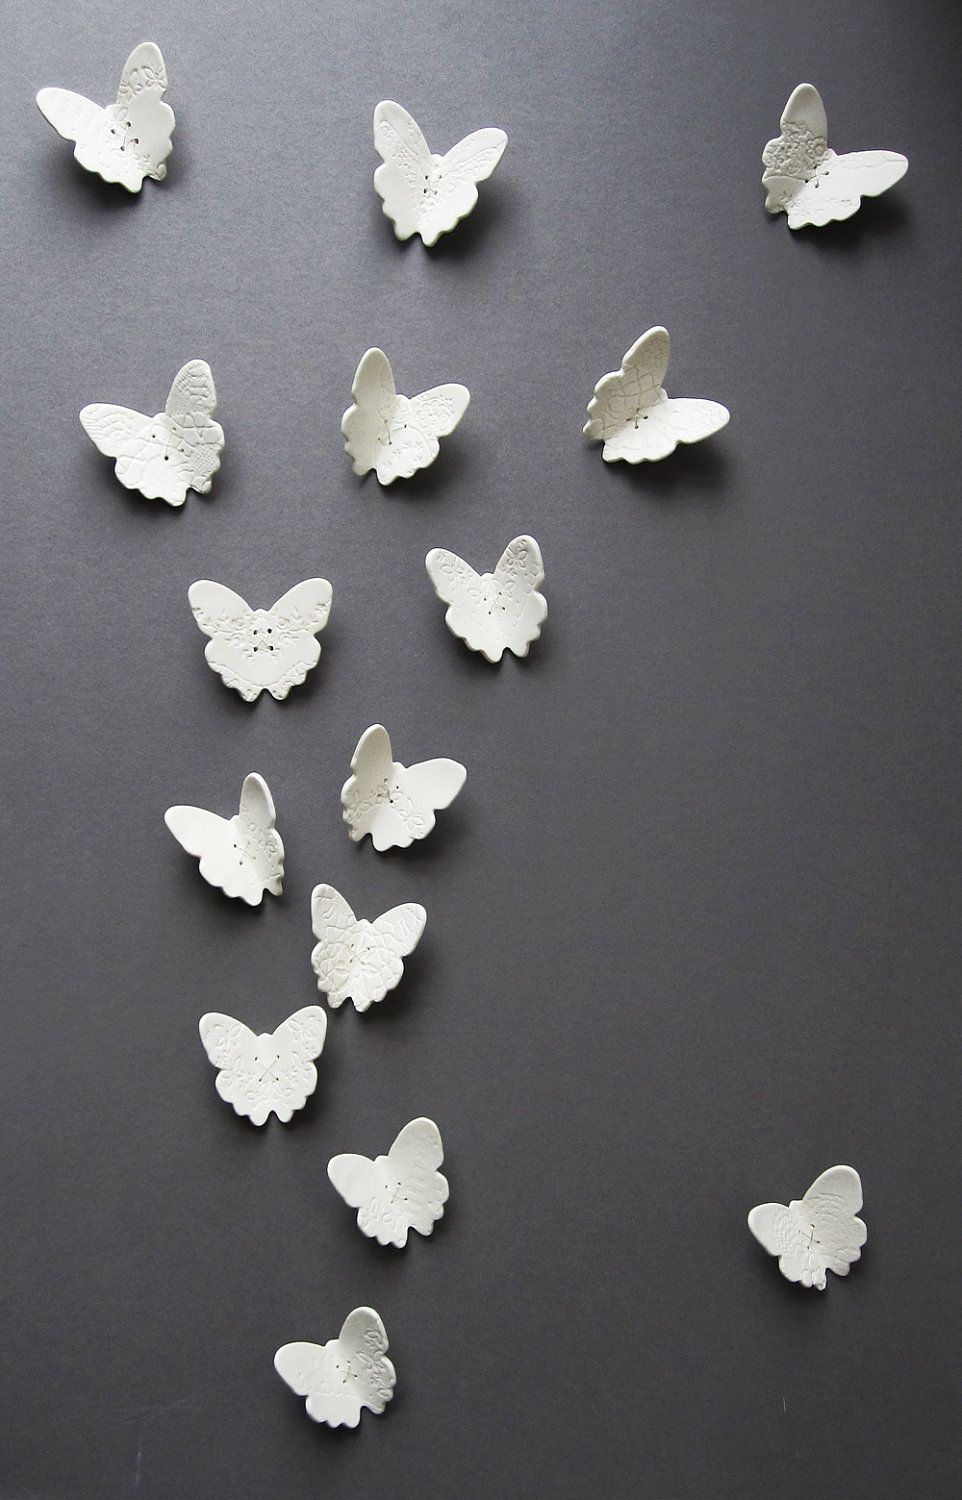
Cold porcelain is very similar to clay or polymer clay, but at the same time working with it is much more convenient. In the process of creating products, you can use a variety of decorations. For example, beads, shells, twigs, strings and more.
Moreover, the surface of porcelain can be painted to give the desired shade and even varnish. After solidification, the products become very hard.
But there are still some rules that need to be followed so that the products retain their appearance as long as possible. Cold porcelain can liquefy and absorb moisture, so keep products as far as possible from water.The same applies to exposure to sunlight. With prolonged exposure to the sun figures may lose color.
Another important point to consider is the temperature regime. When the temperature is too low or high, the structure of porcelain is disturbed, which in turn leads to the deformation of products. However, if you cover them with a special varnish, this will help protect products from damage and fading.
Cold porcelain making technique
If you have problems with buying cold porcelain, do not be in a hurry to get upset, because it can be done even at home. To do this, you first need corn or rice starch. You also need to prepare a simple PVA glue, children's cream and glycerin. For longer storage, add a little citric acid.
It is very important to choose the right proportions so that the structure is uniform. Glue and starch are best mixed in a 1: 1 ratio, and glycerin with a cream is 2: 1. After mixing, let it brew for approximately 20 minutes. During this time, all the ingredients dissolve, and will take a homogeneous structure that is suitable for modeling. The resulting material must be used immediately and not left for the following products.
As for the color, the consistency initially has a light beige tint. If you need other colors, you can add a little food coloring or chalk. You can also make a product and paint it after it has dried. However, this should be done not earlier than in a day.
Cold porcelain products
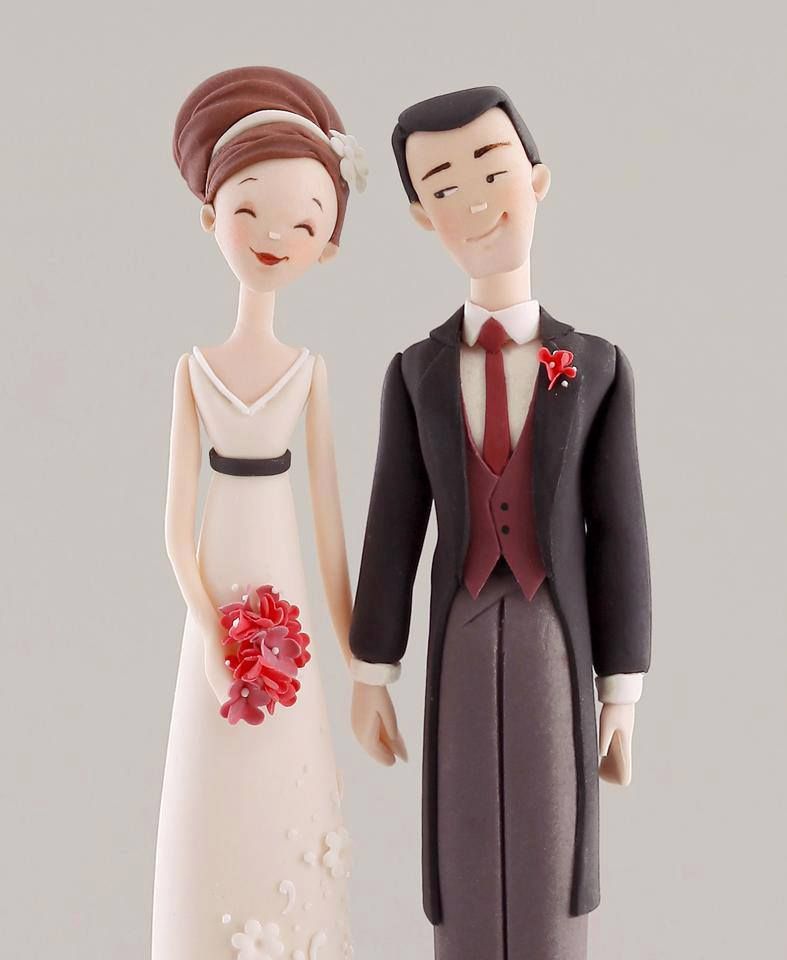
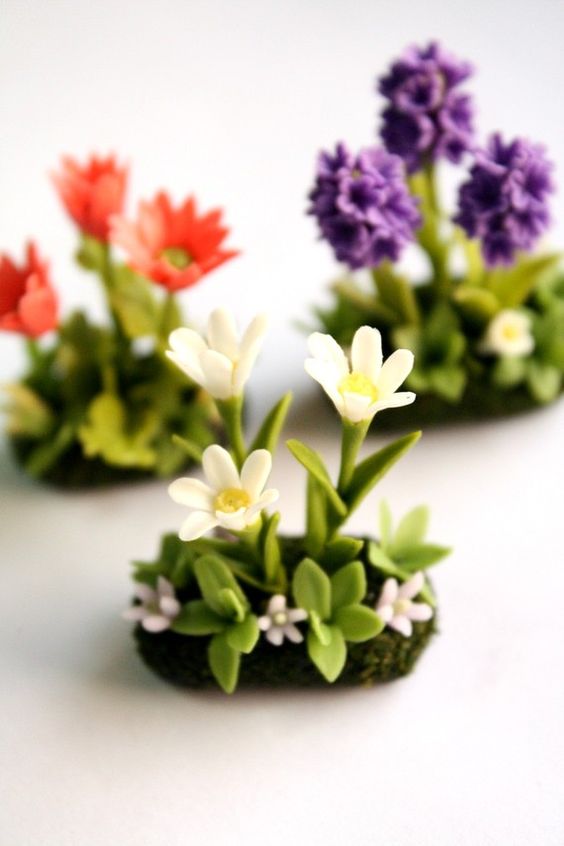
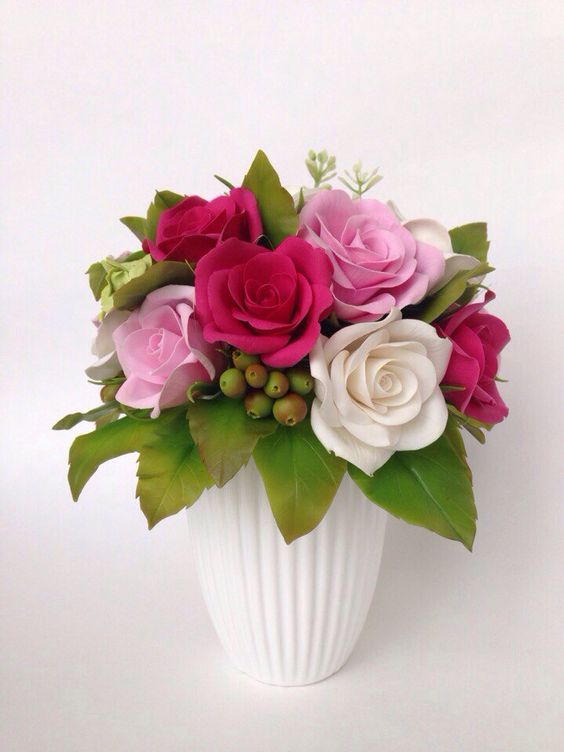
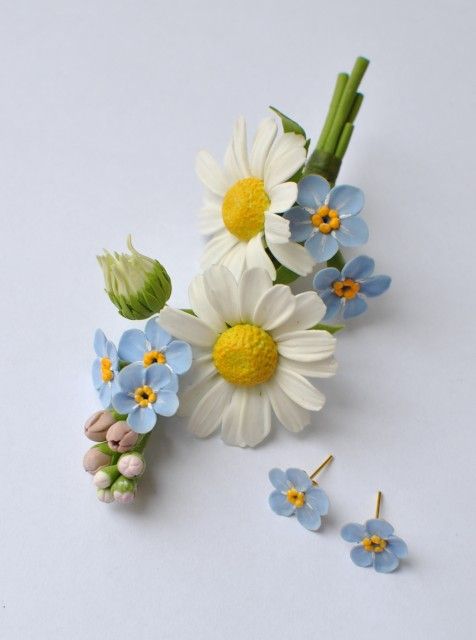
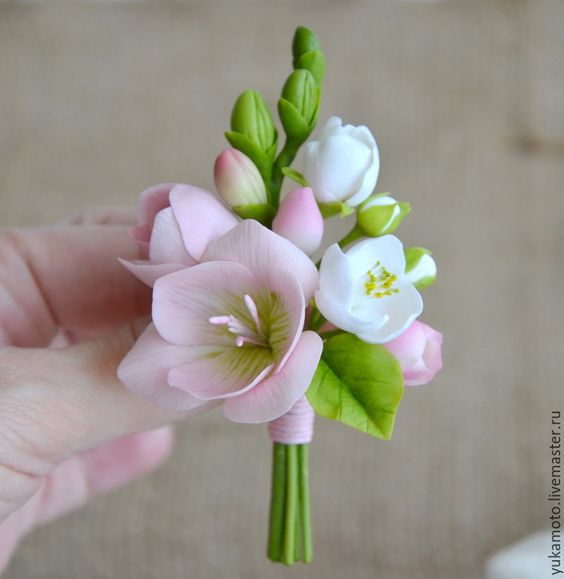
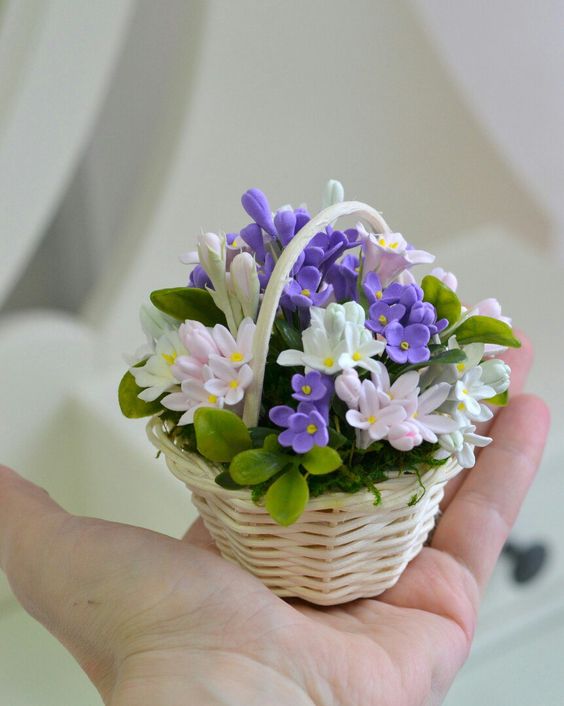
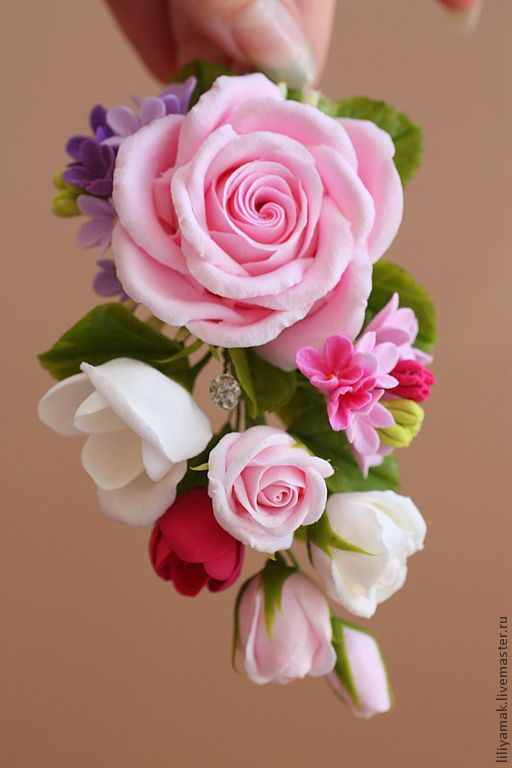
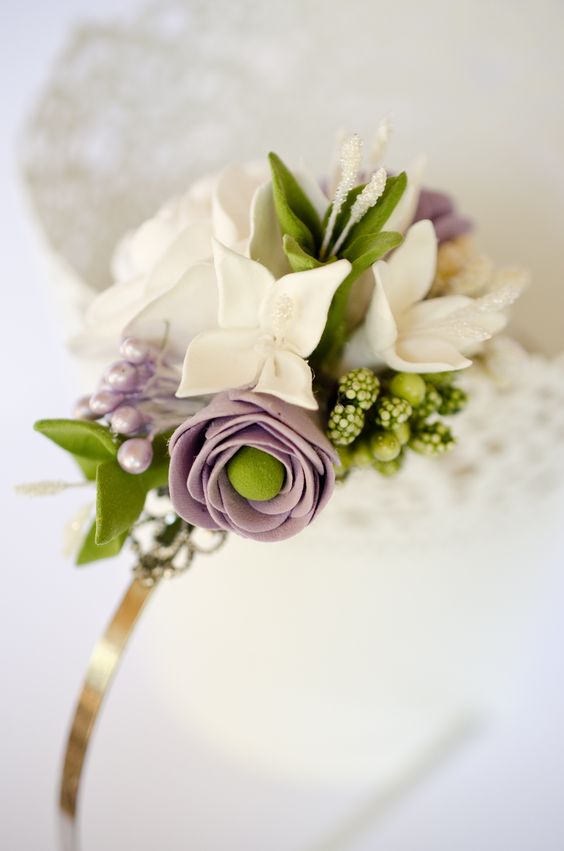
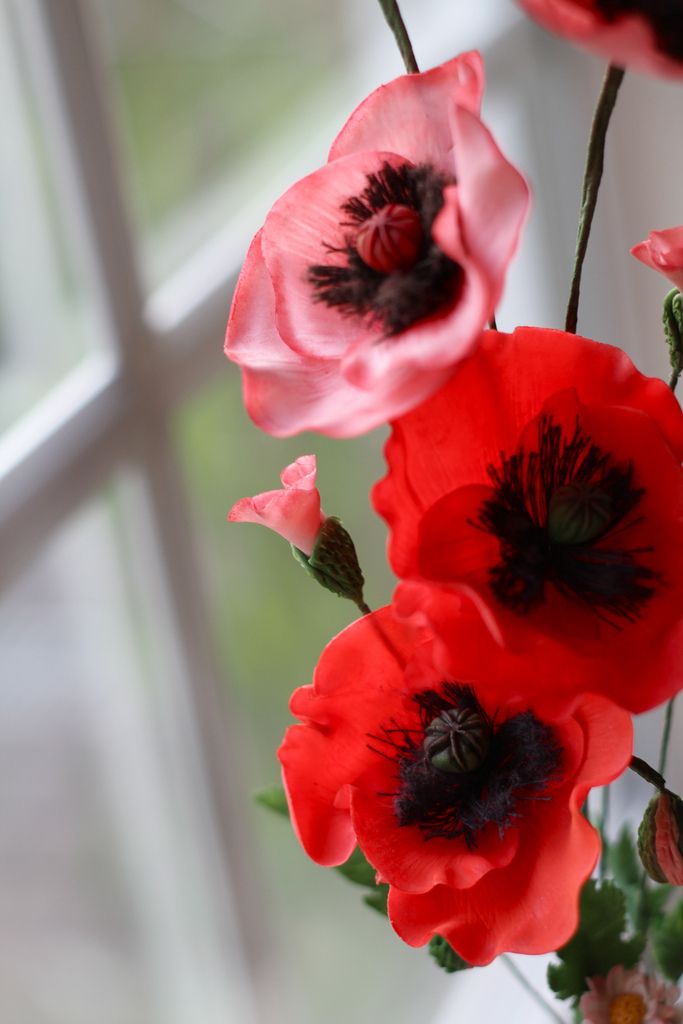
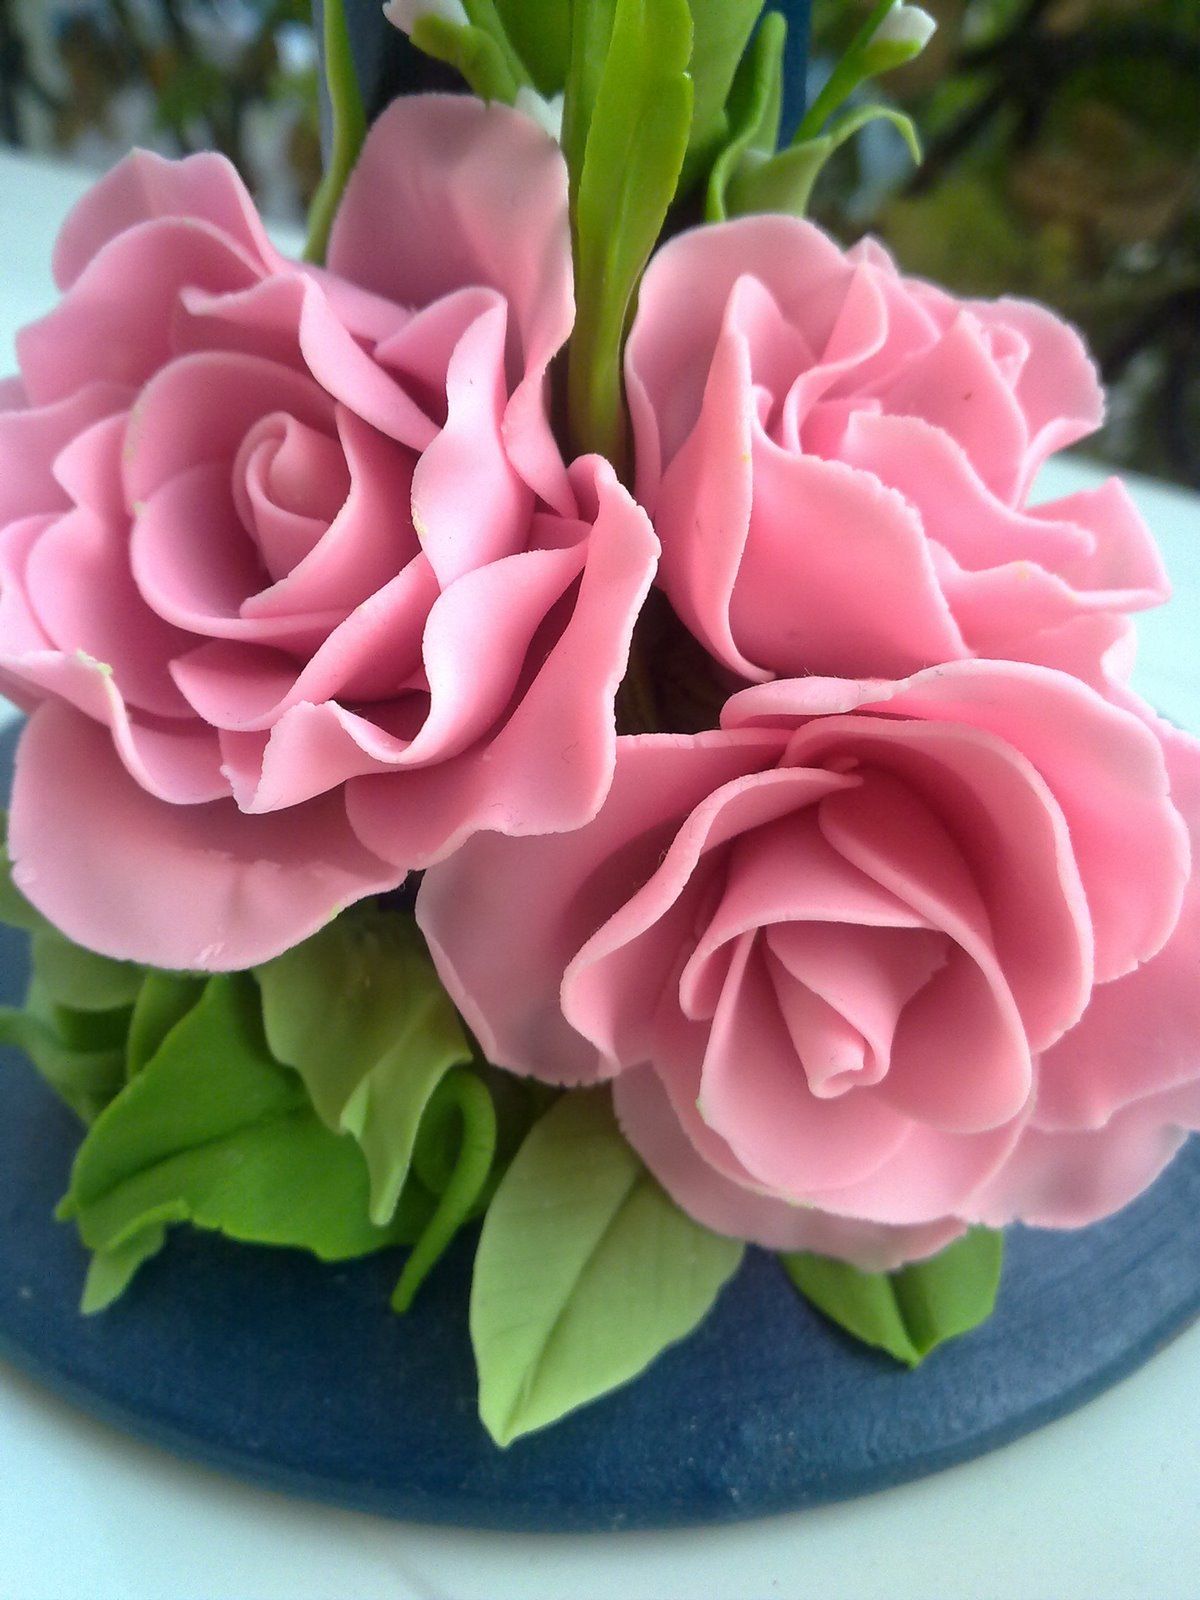
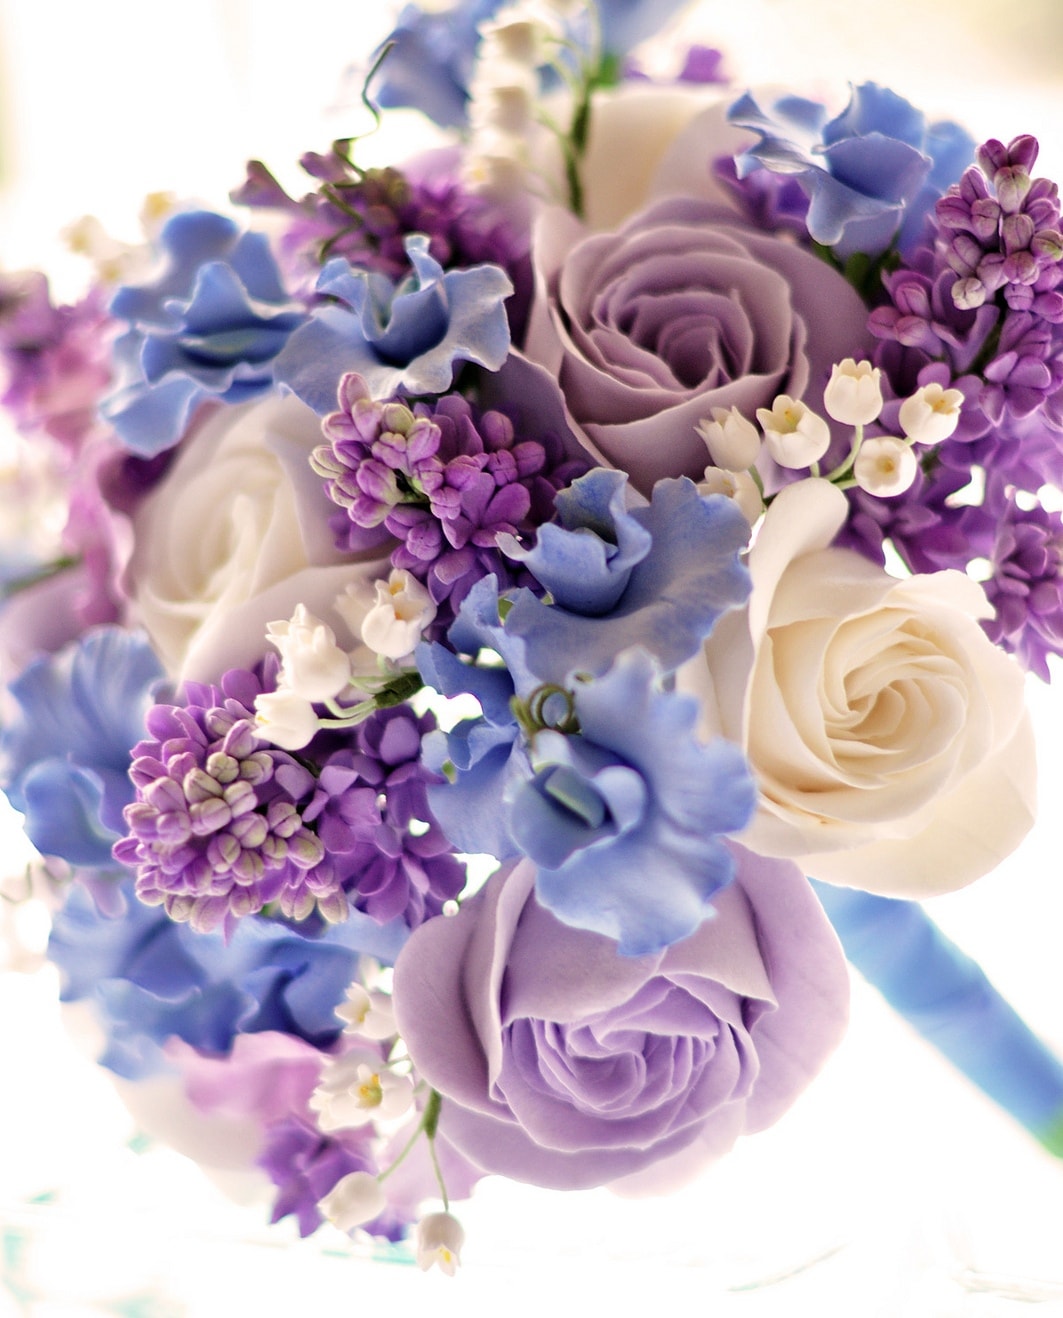
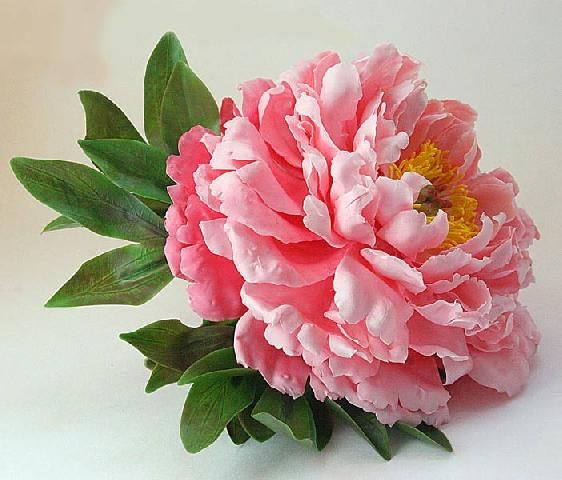
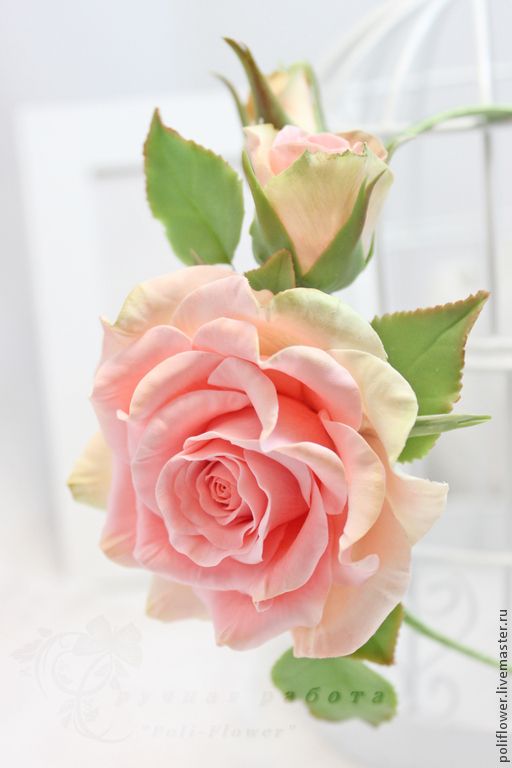
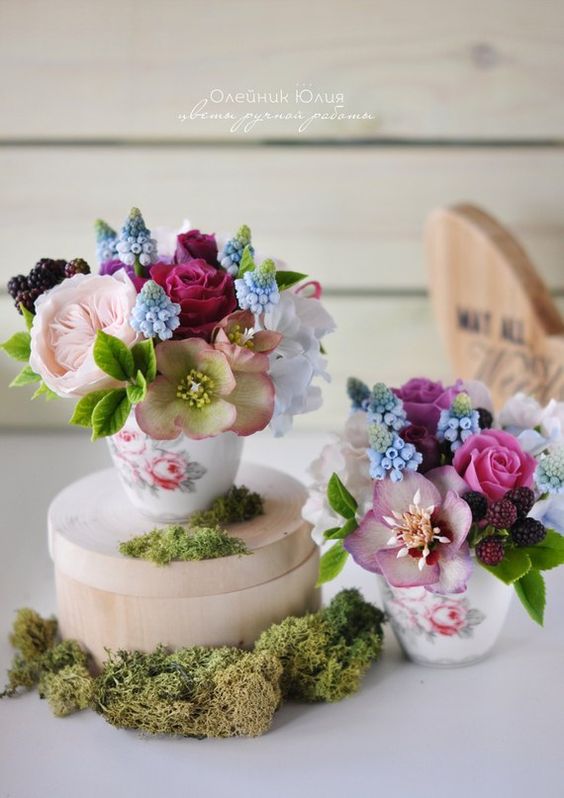
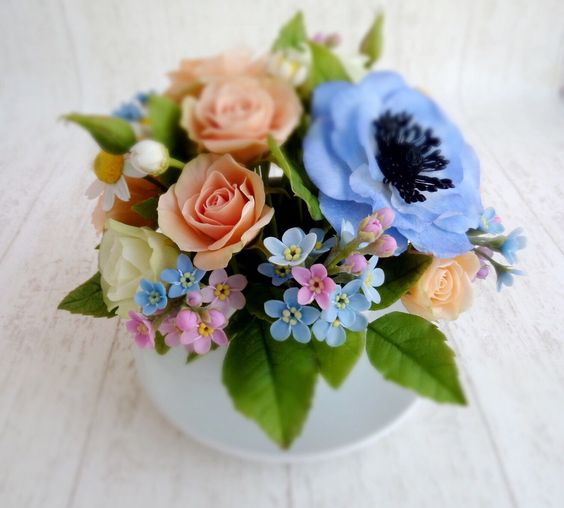
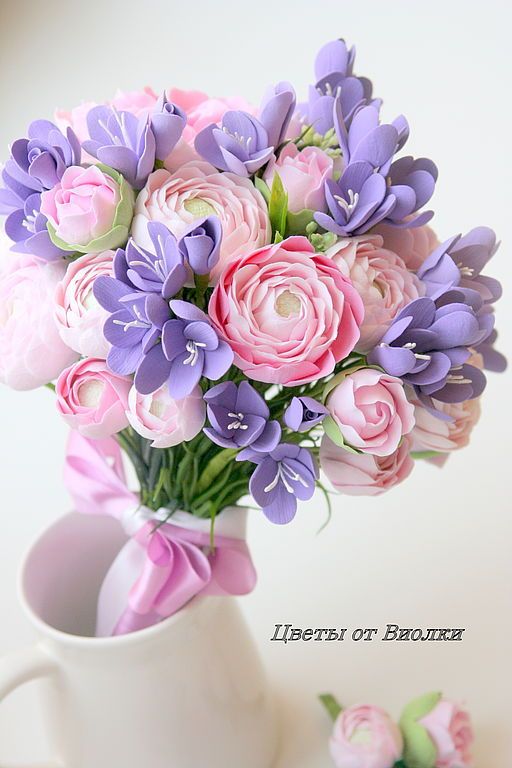
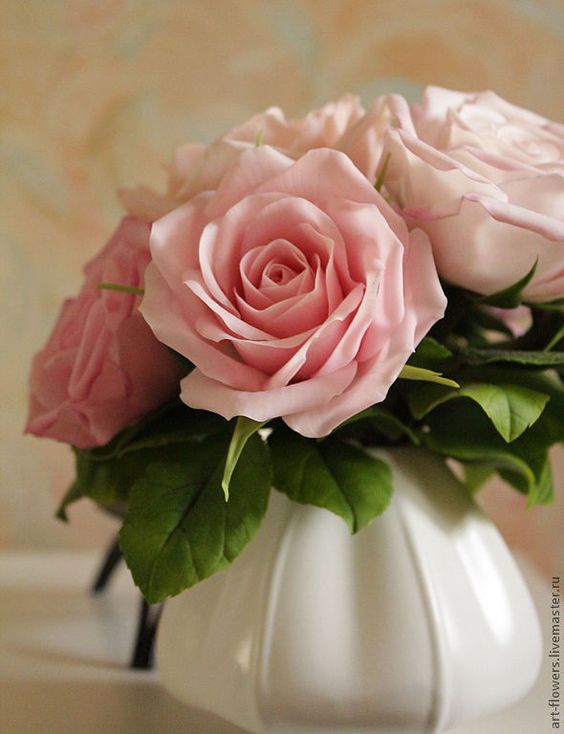
Cold porcelain is an ideal material that allows you to create a variety of products. Most often, different flowers are made of it, which can be used to decorate the room or even create a wedding bouquet for the bride.
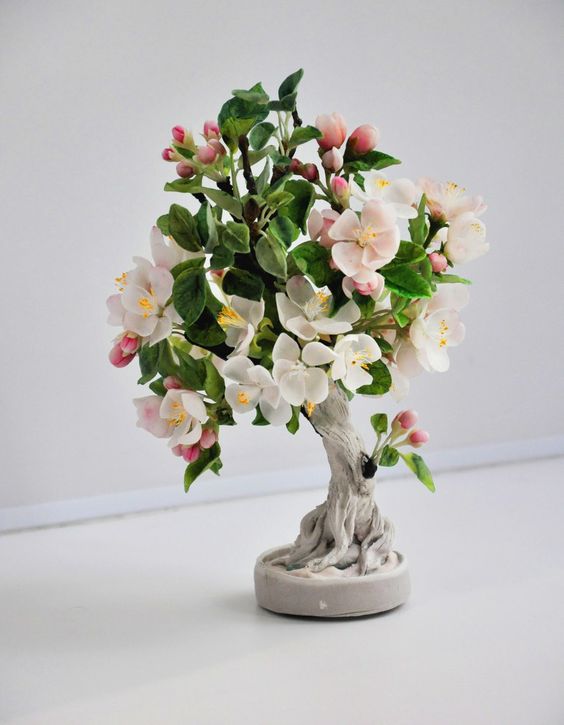
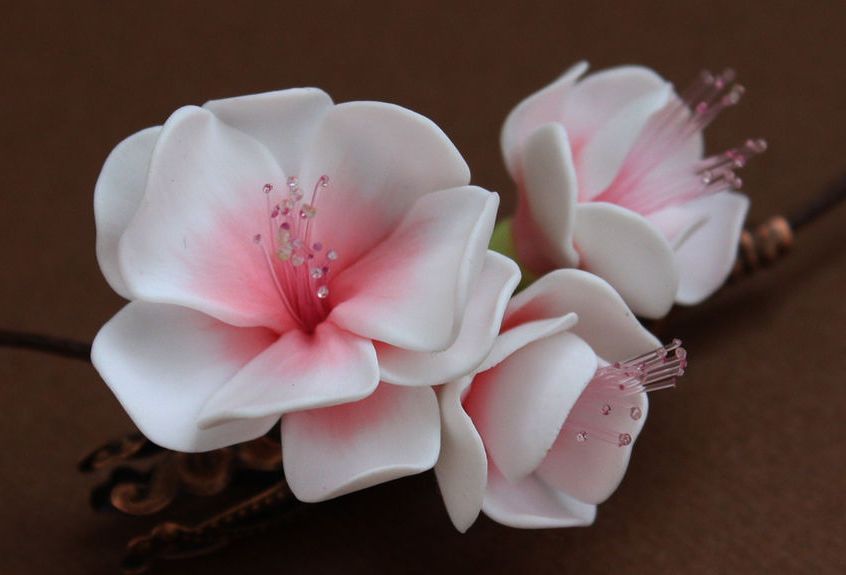
But if you are just starting your journey in this work, then we suggest you try making a sakura flower.
For this we will prepare the following materials:
- cold porcelain prepared in advance (beige, green and pink);
- scissors;
- PVA glue;
- toothpick.
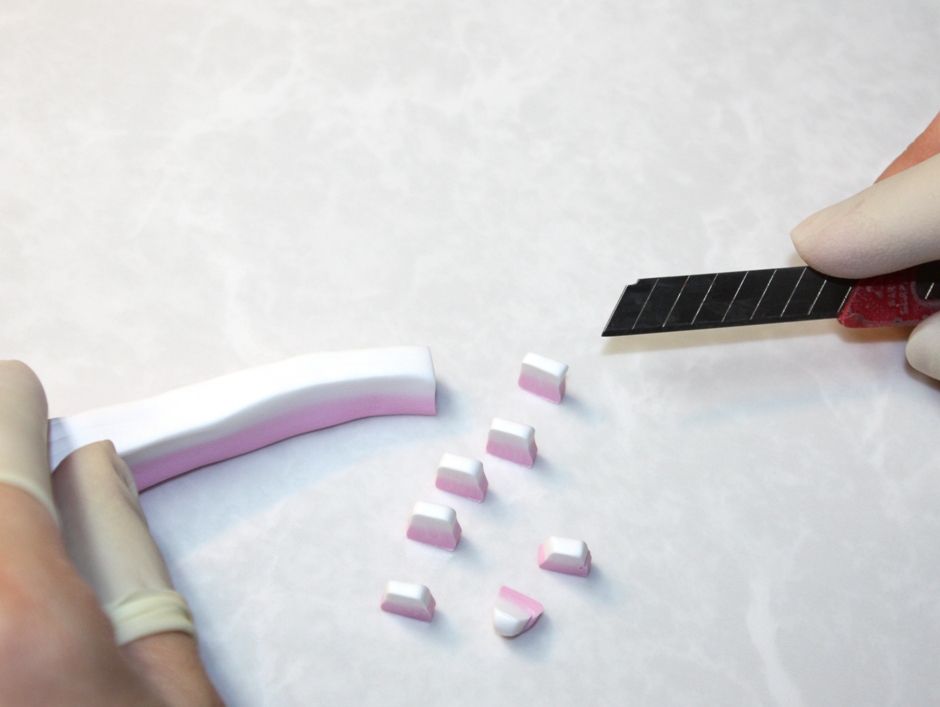
To begin with, we give porcelain a rectangular shape. We combine two pieces of white and pink shades into one bar. Cut into small pieces, as shown in the photo.
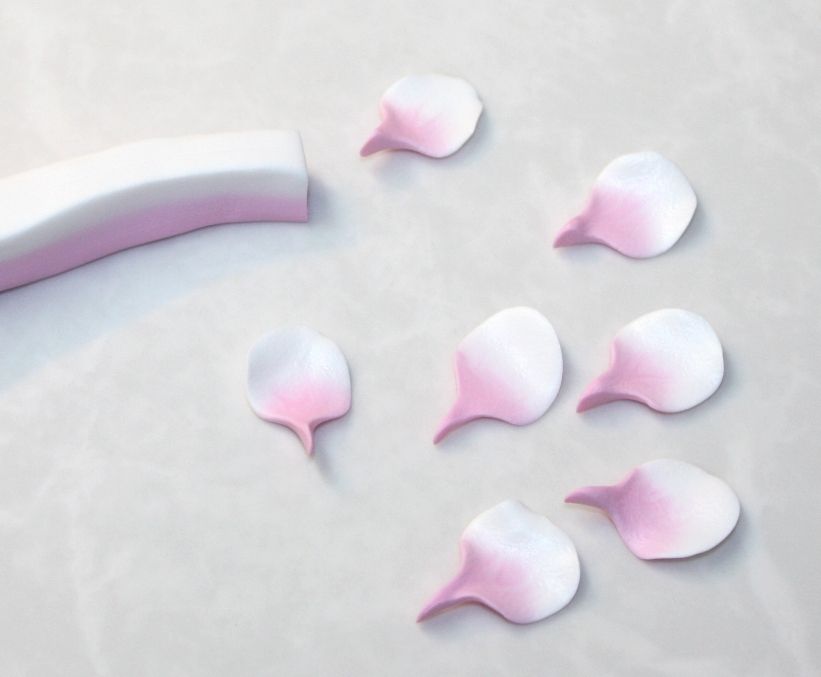
From small pieces of porcelain we make petals of approximately the same size. The inside should be pink.
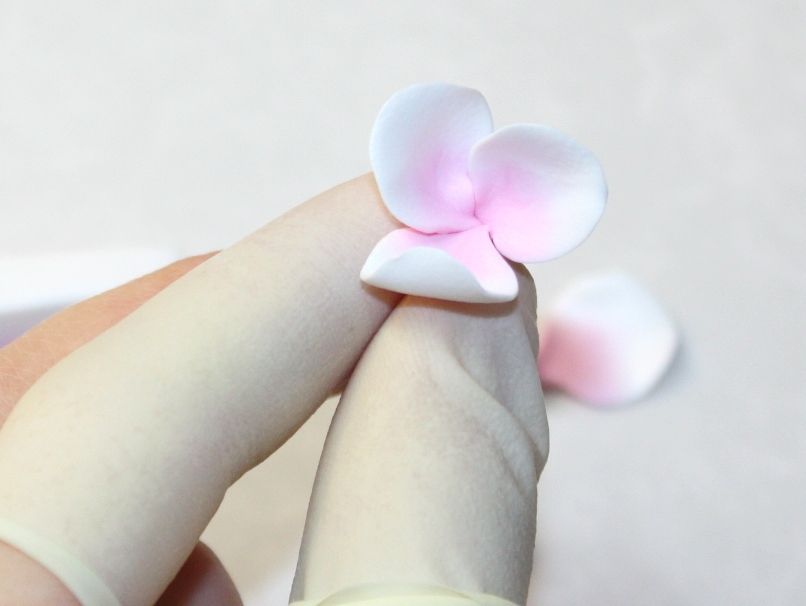
Glue the petals together with glue in the form of a flower.
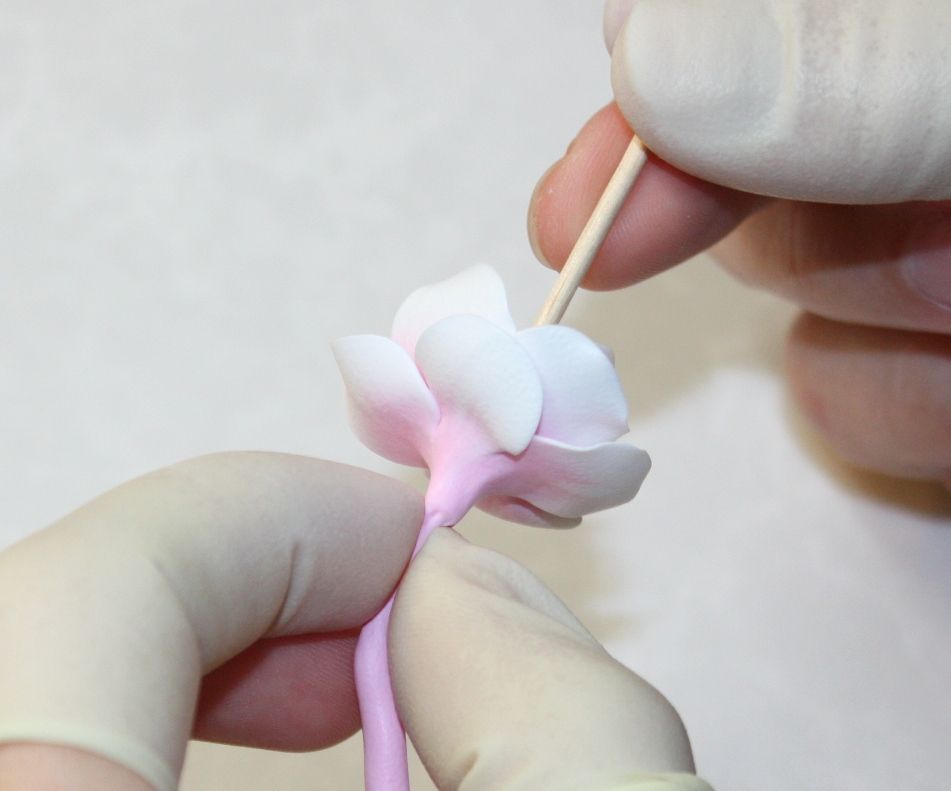
Using a toothpick, we make a small hole in the inside of the wire flower.
Prepare sepals and petals of green. We fasten the flowers on them, then leave them to dry completely. We combine them into a single composition and, if desired, add decorations.
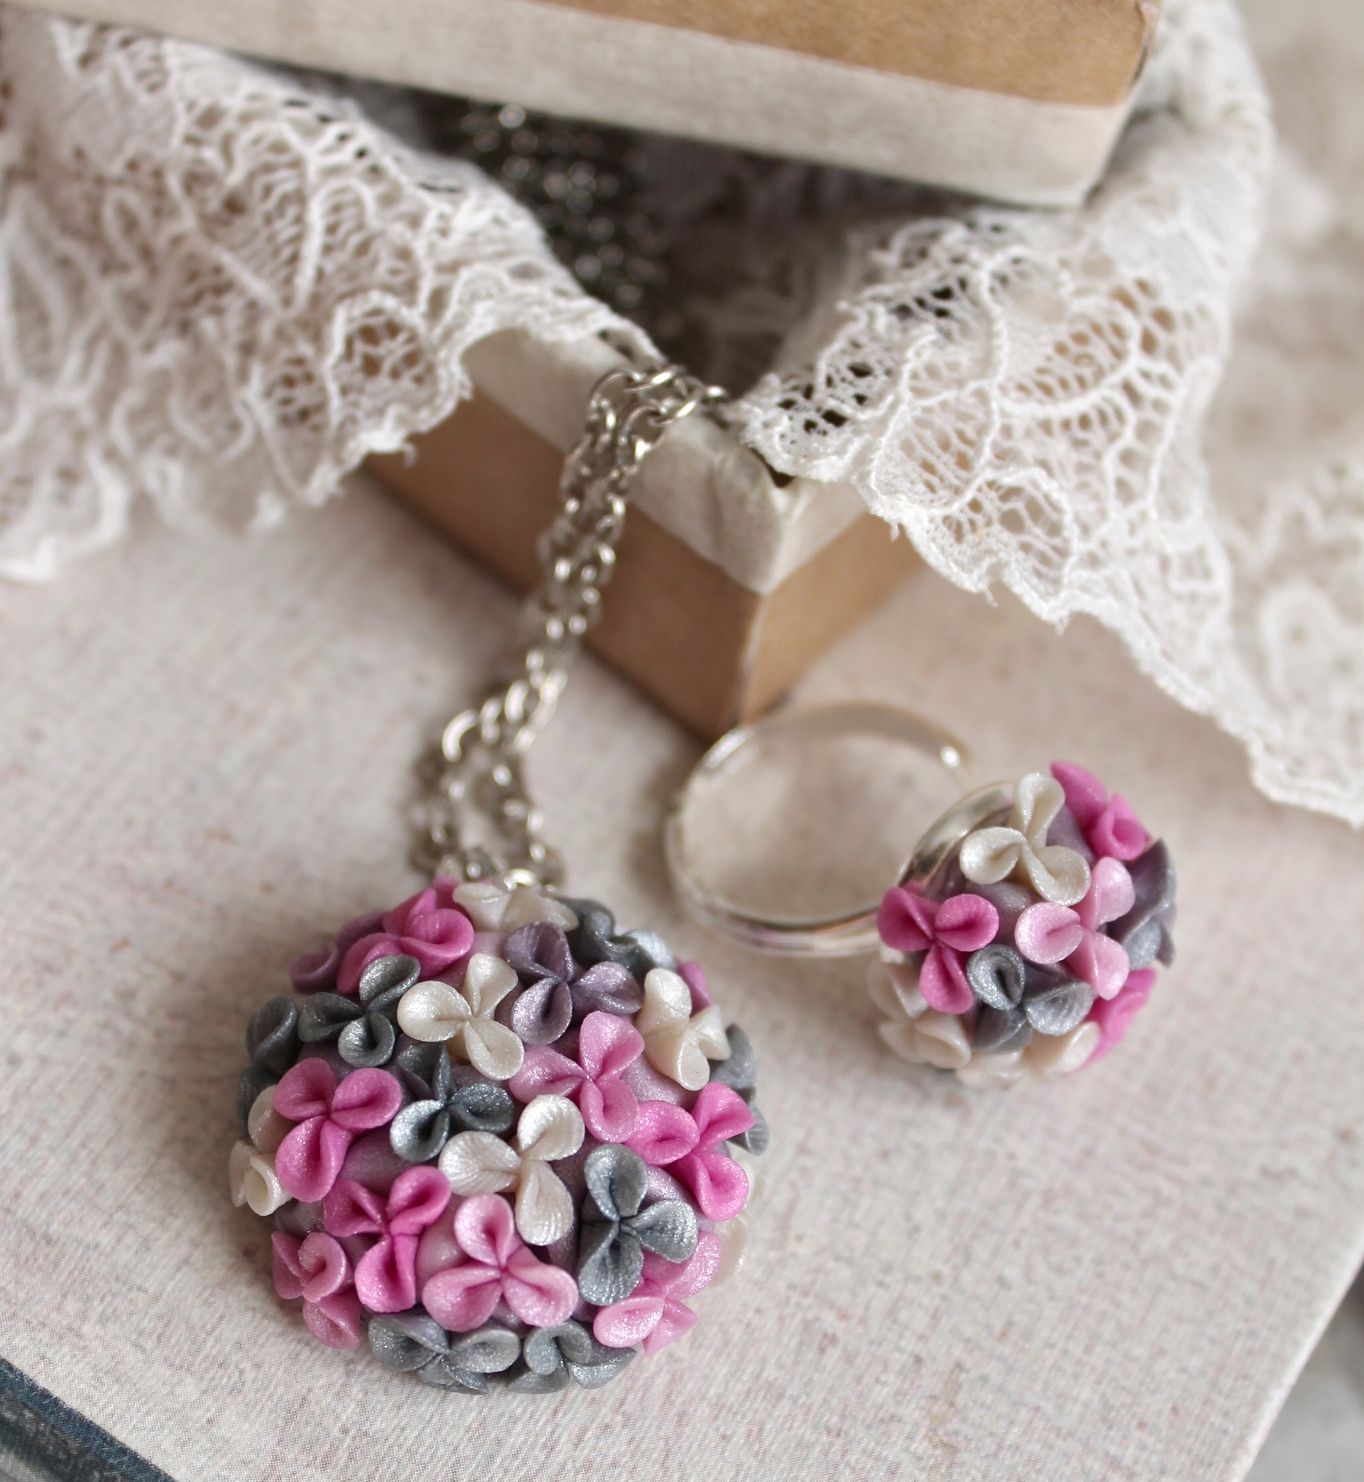
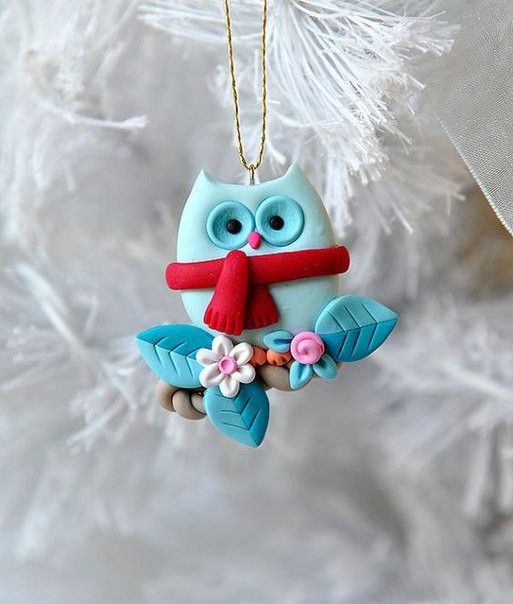
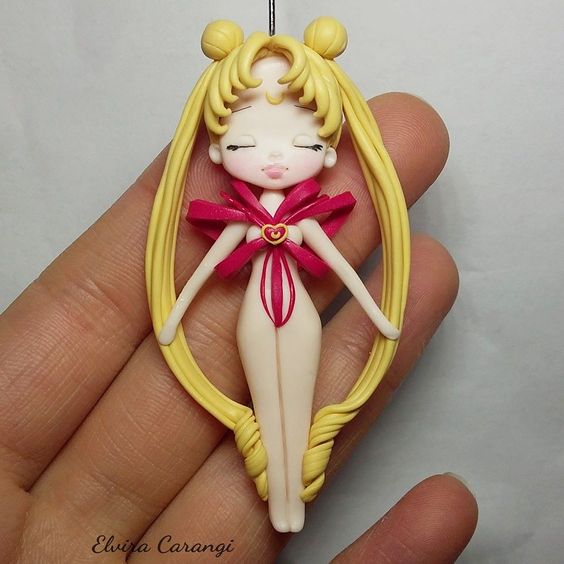
These flowers are often decorated with rooms or a room for celebration. No less often they are used to create beautiful pendants.
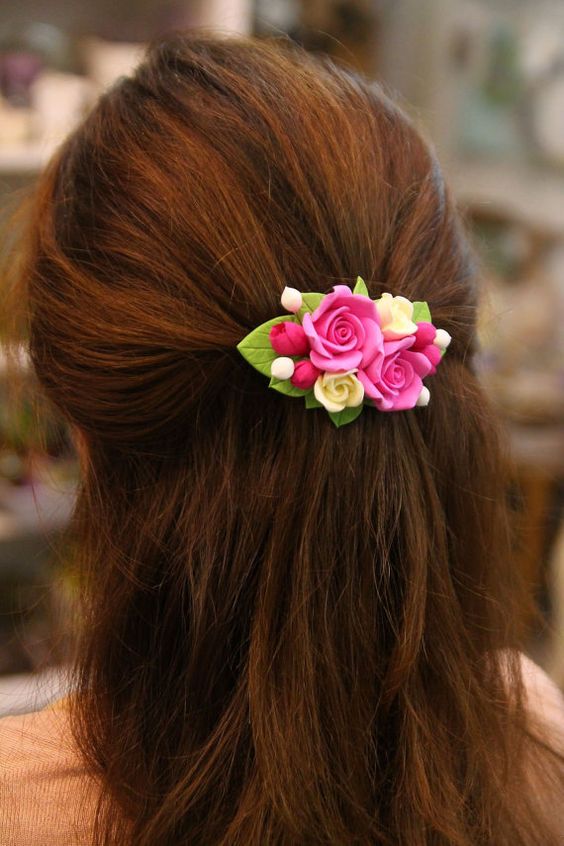
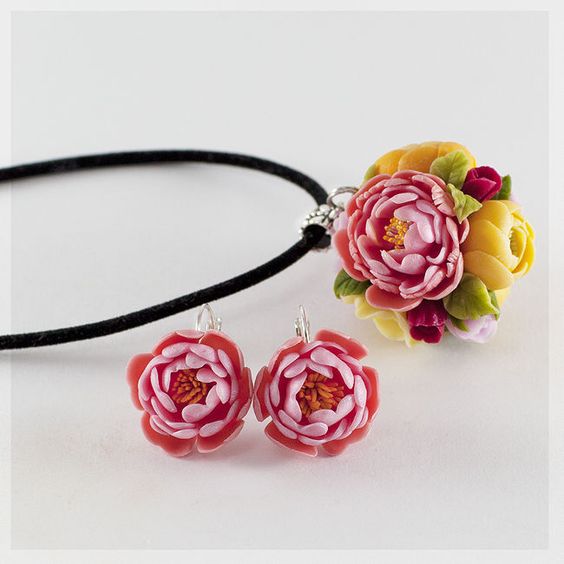
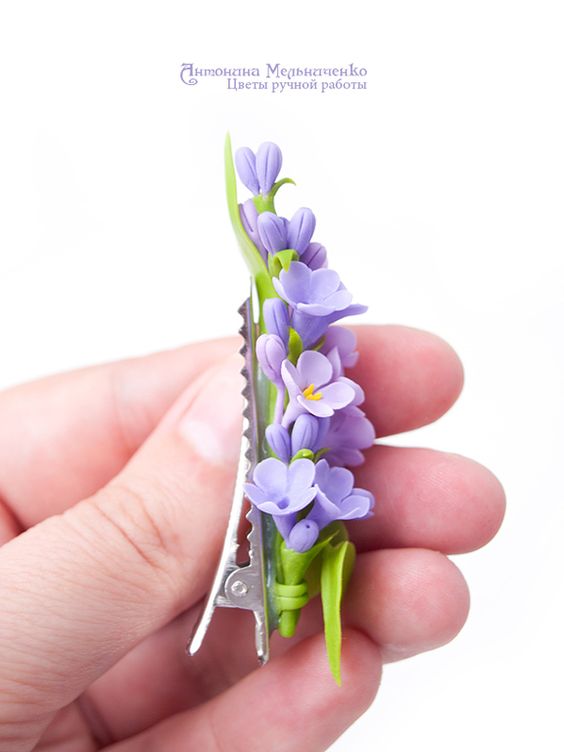
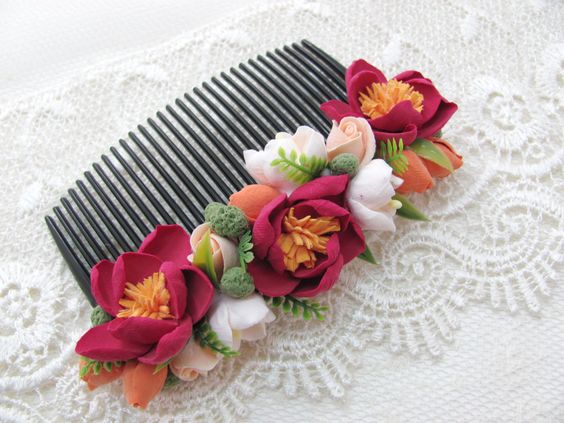
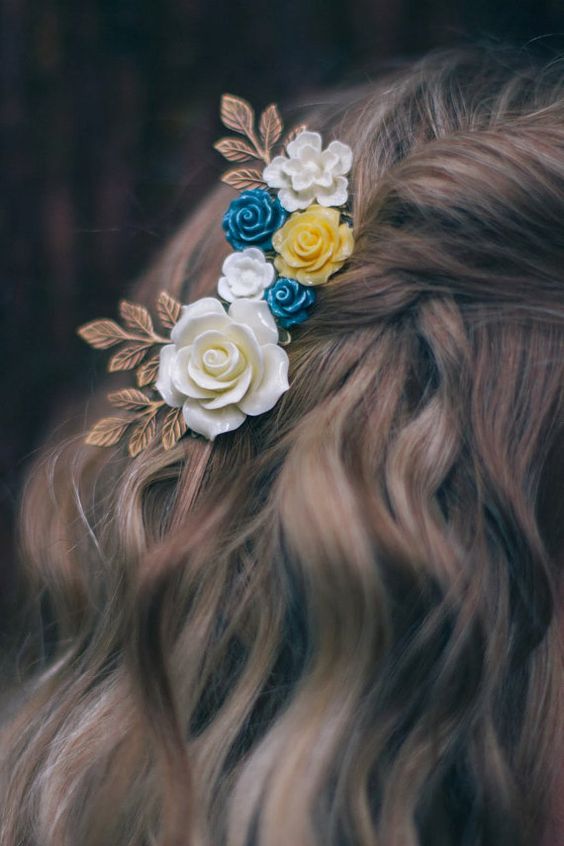
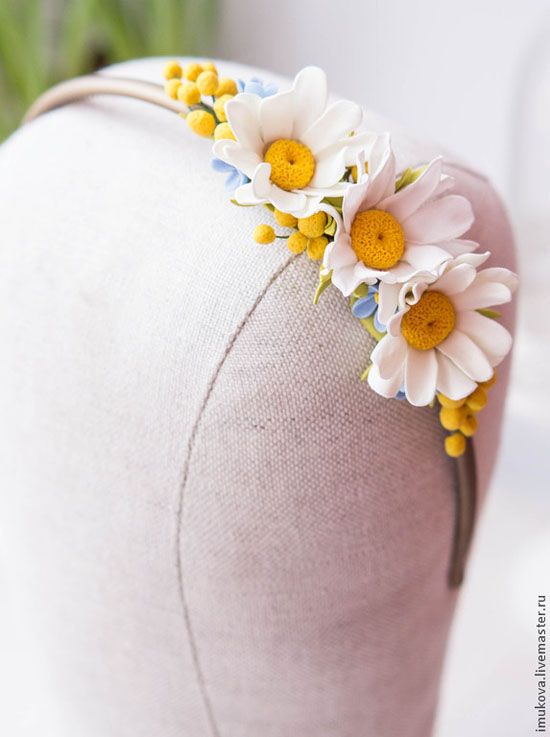
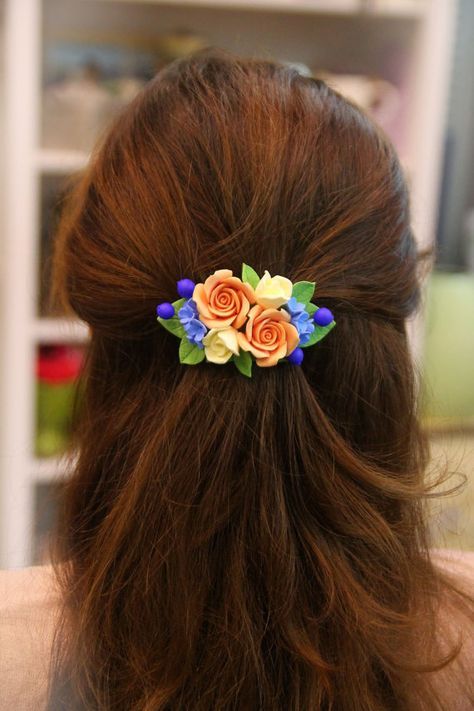
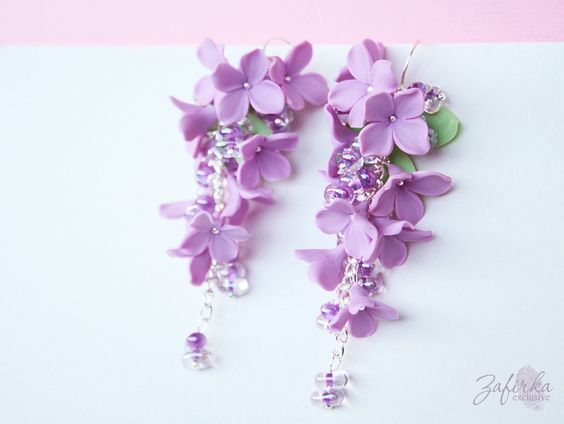
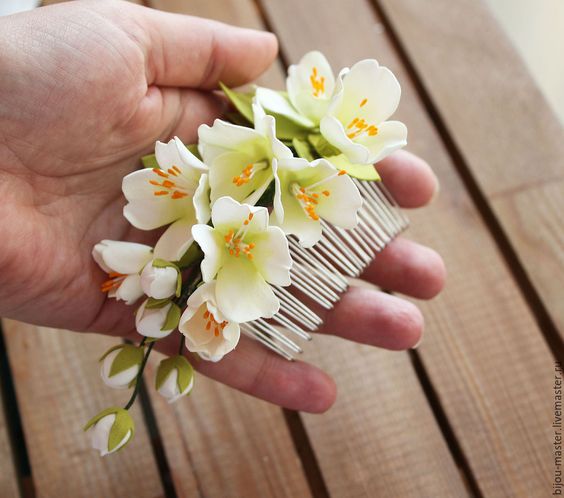
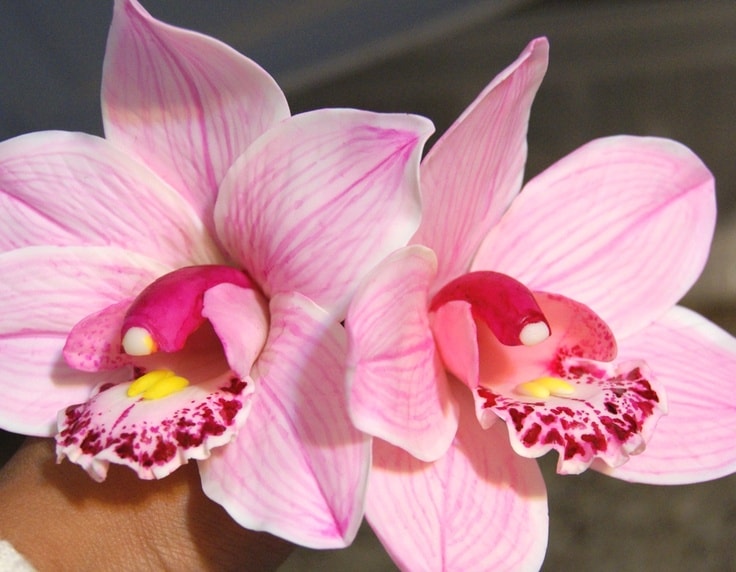
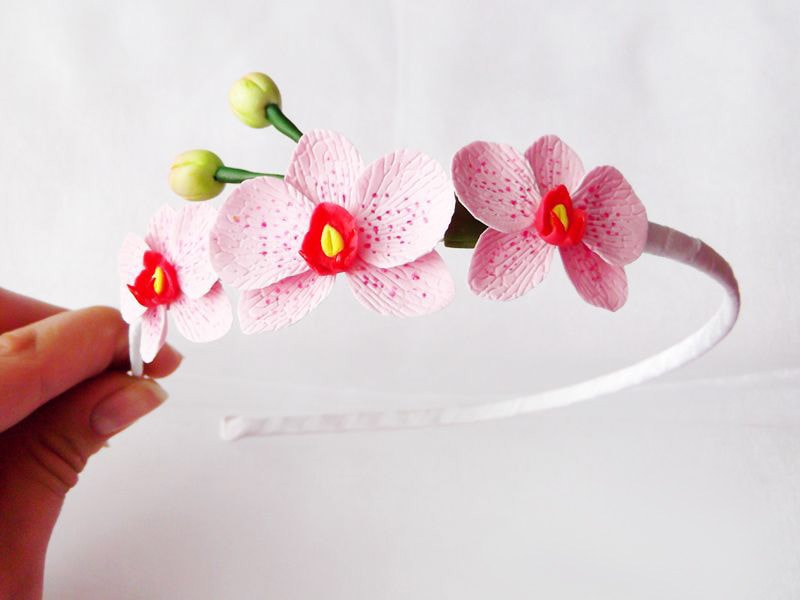
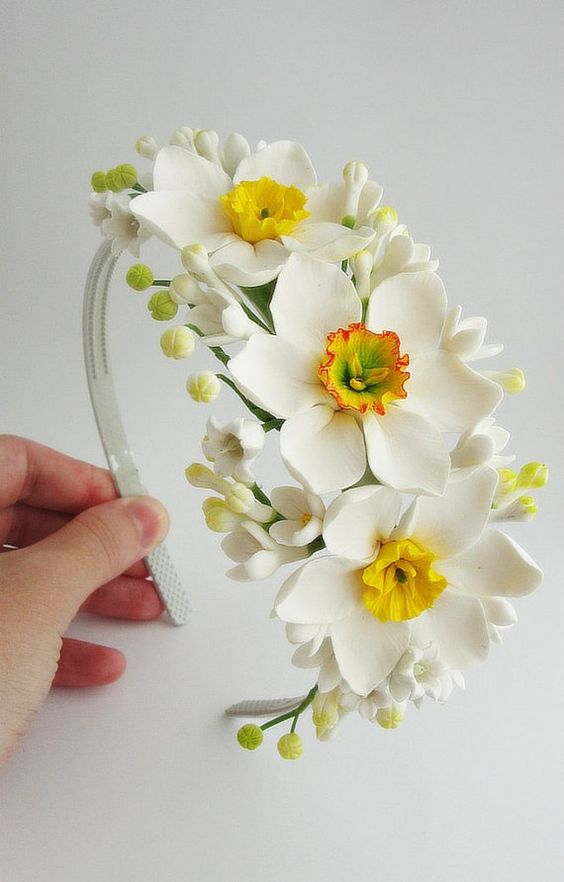
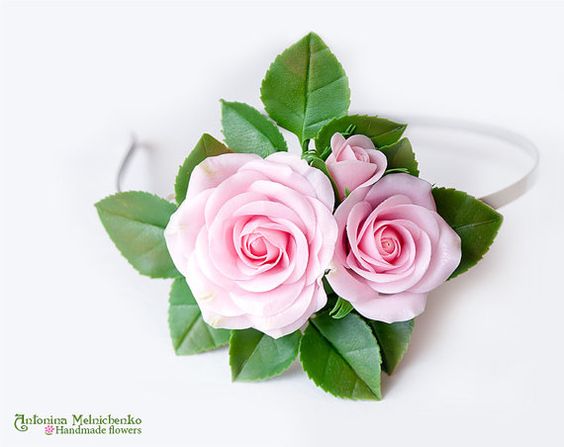
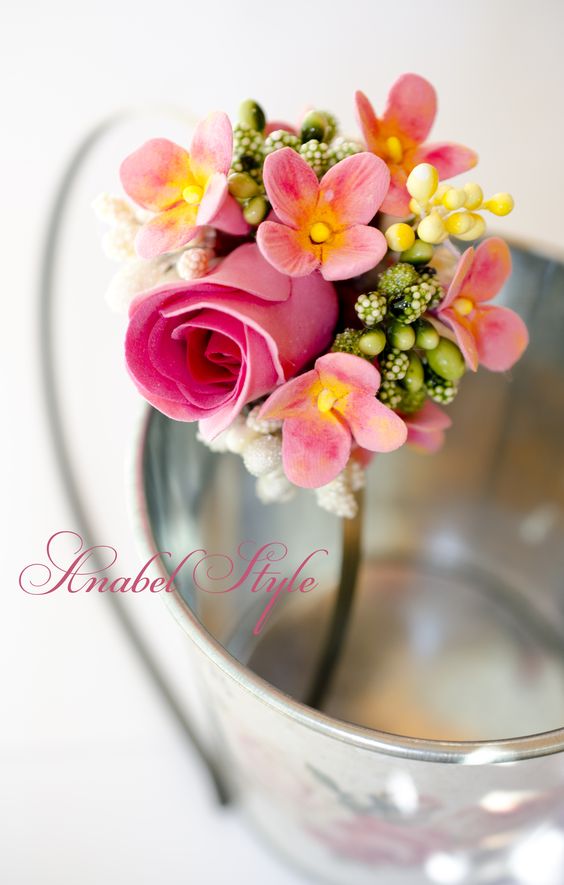
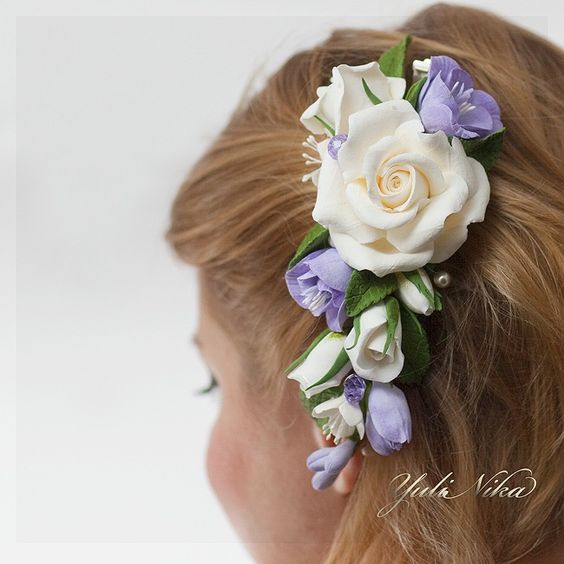
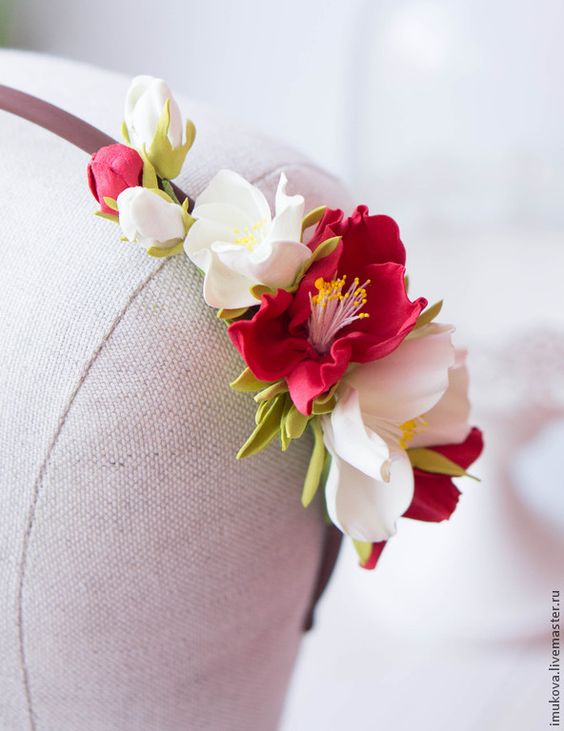
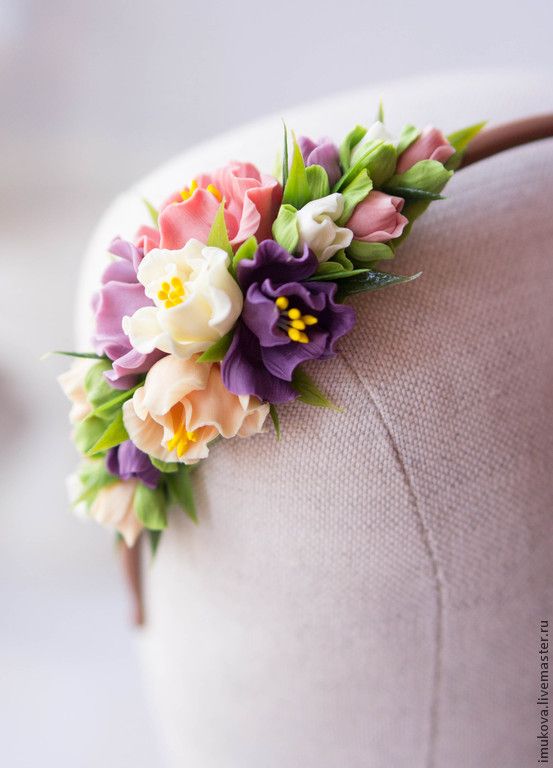
Also, very beautiful jewelry for the hair is often made from cold porcelain. They look very romantic, so many girls get them for photo shoots and wedding hairstyles. We offer to try to make a hoop with orchids, which will decorate the summer look.
We will prepare the following materials:
- hair band;
- wire;
- oil paint (white, red, yellow and green shades);
- floristic clay;
- dry pastel green and red;
- brush;
- red acrylic paint;
- glue;
- orchid leaf mold;
- dumbel;
- knife.
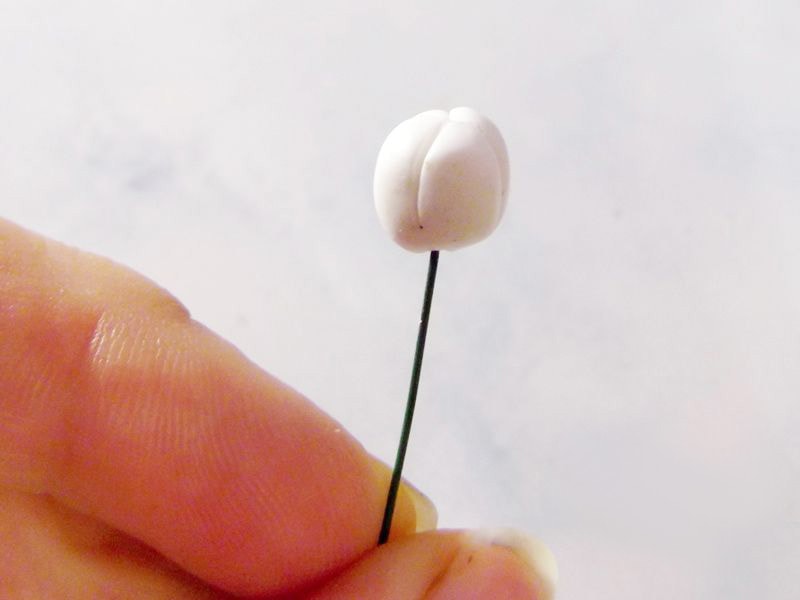
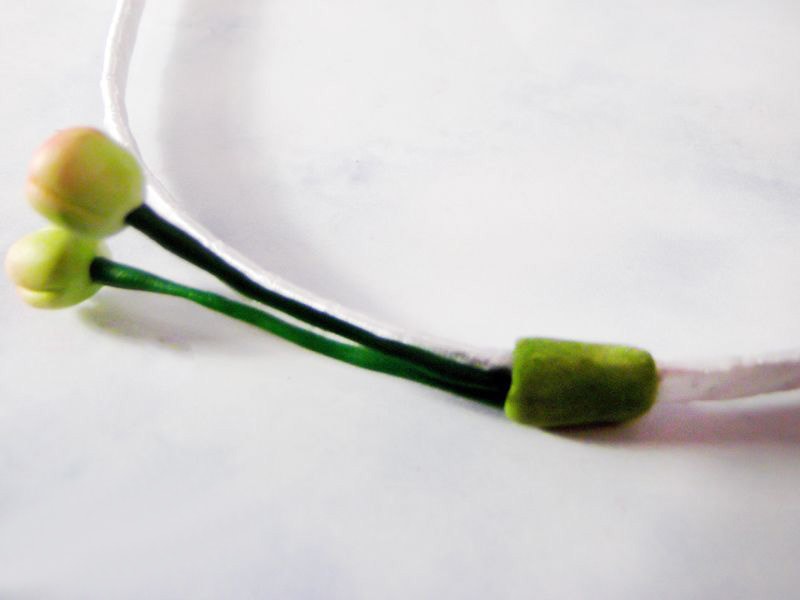
Cut off two identical-sized pieces of wire. Bend each piece on the end in the form of a loop. We mix floristic clay with white oil paint. We form a small ball, after which we lubricate the loop with glue. We put on the ball above and make four recesses with a knife. We make one more same preparation for the second flower.
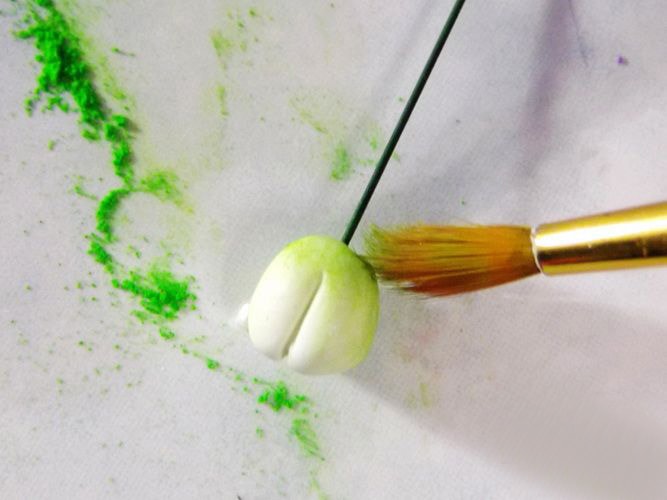
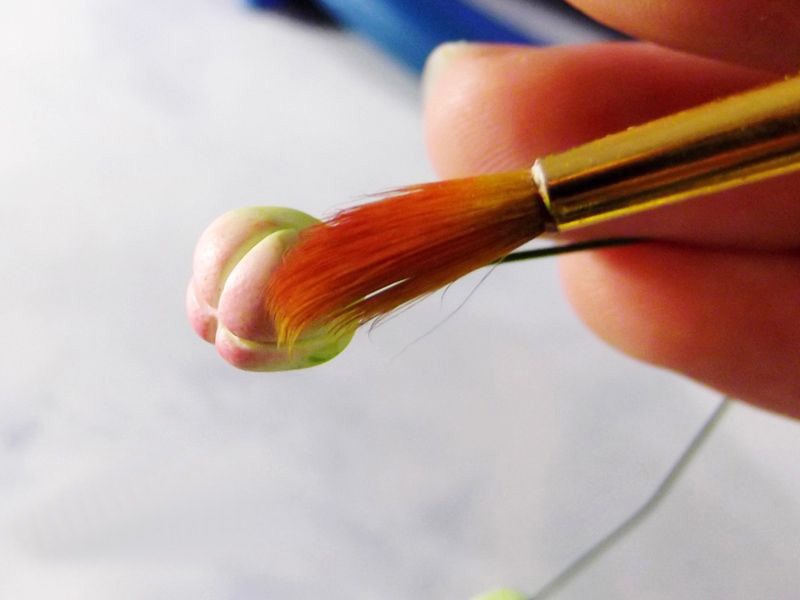
Using a brush with dry pastel green color, cover the base of each bud. And the upper part is painted with red pastel.
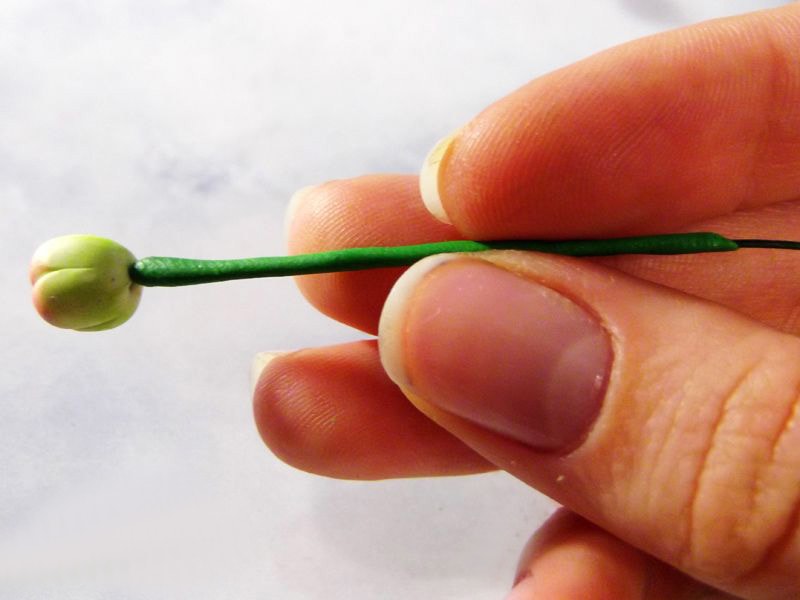
Mix a small piece of clay with oil paint in green to obtain a uniform shade. Cover the remainder of the wire with glue and put prepared clay on it.Gently stretch the clay with your hands over the entire surface. Repeat the same with another bud.
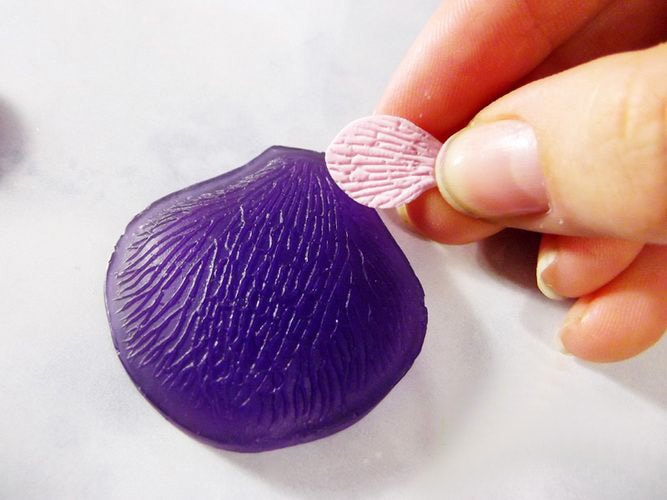
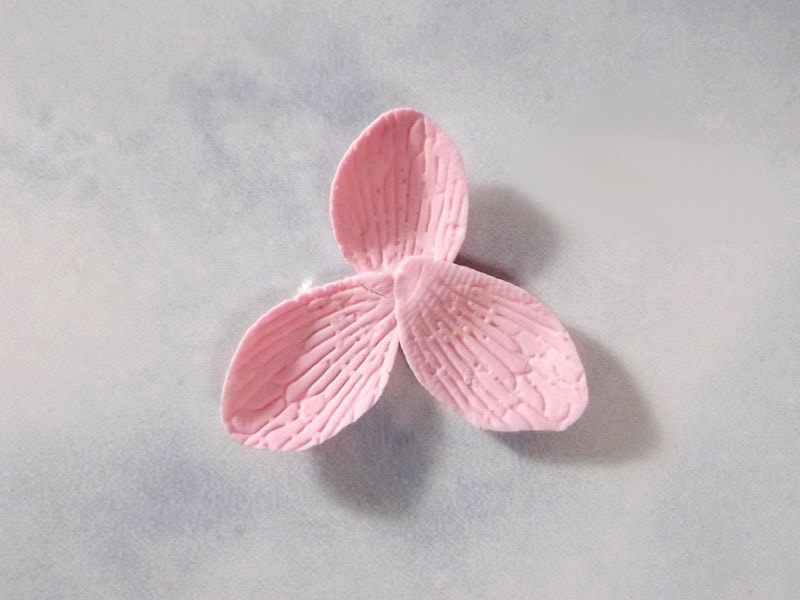
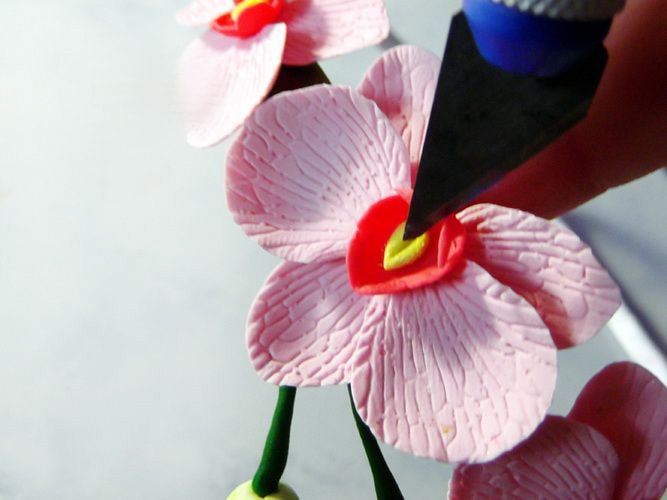
A small piece of clay mixed with white and red paint to create a pink tint. Pinch off a small piece and form a flower petal. With the help of mold we give the petal a texture.
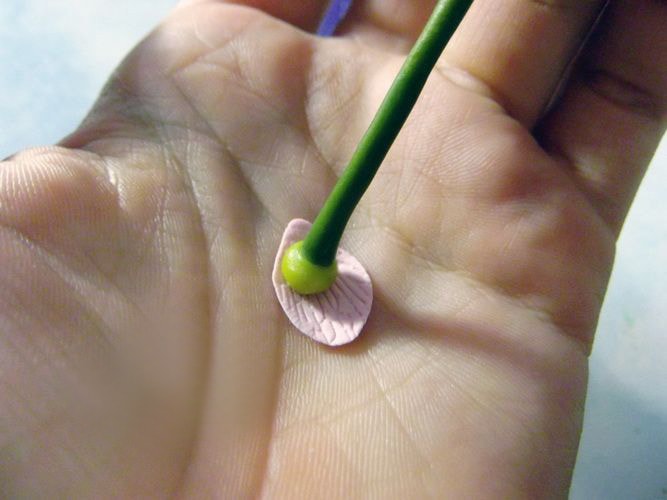
Put the petal in the palm and press down in the middle with a dumbell, so that it becomes concave. Create three petals of the same shape and size.
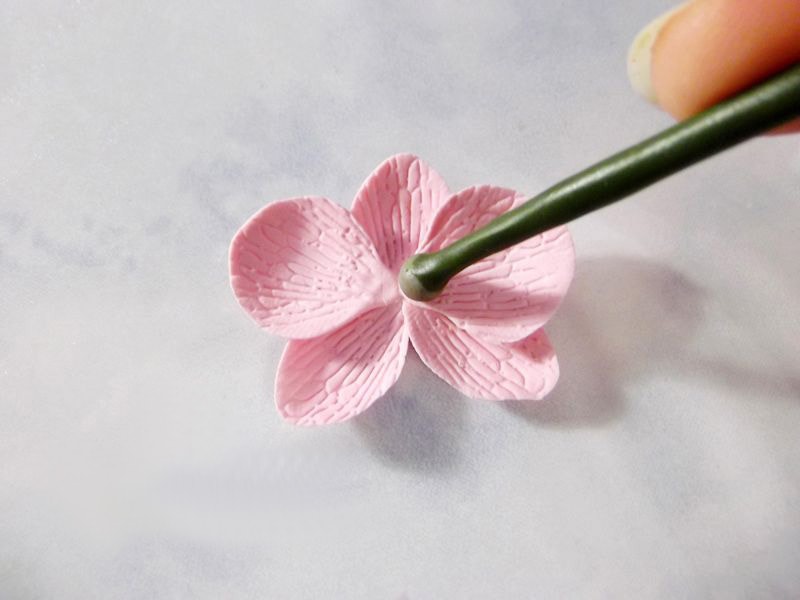
We collect them as shown in the photo and glue them together.
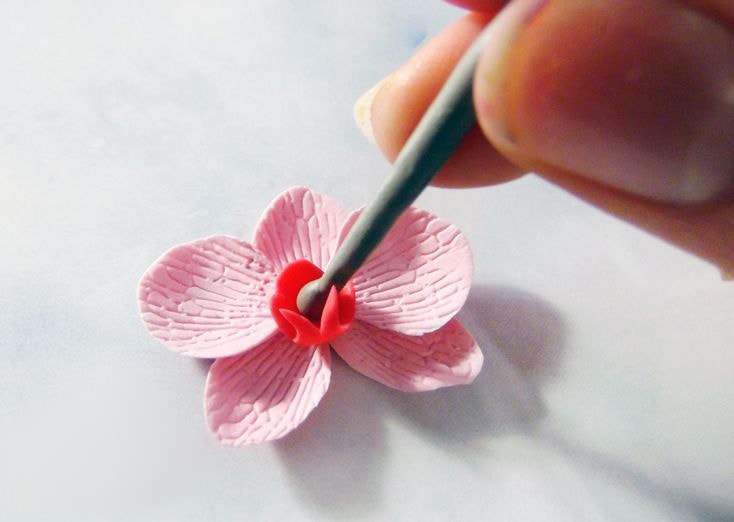
Make two more petals a bit larger and give them a rounded shape. Glue them to the base of the flower and press down on the center with a dumbel. We create three more of the same blanks for orchids.
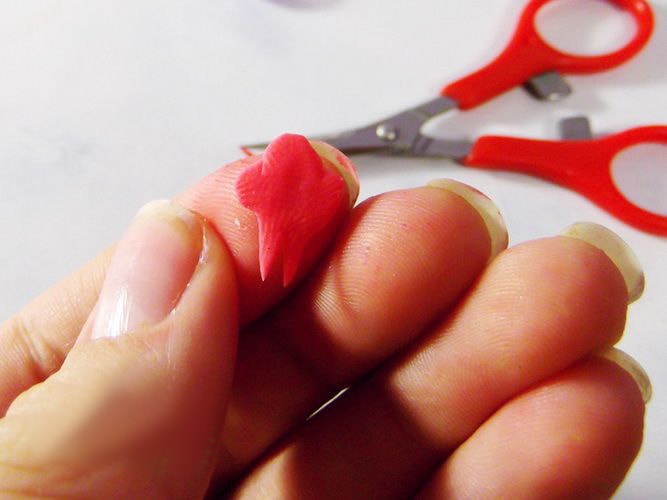
Mix a small piece of clay with red paint, then roll it out and cut out a shape like the photo.
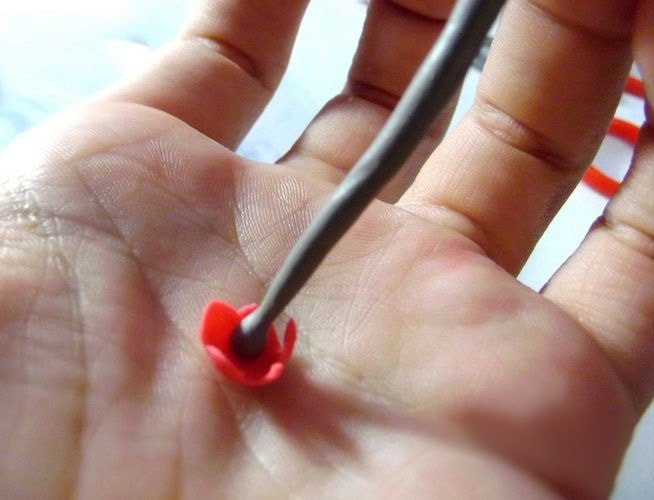
We place the workpiece in the palm and process it in the center with a dumbel.
We connect the core of the orchid with the prepared part. Repeat the same with the rest of the flowers.
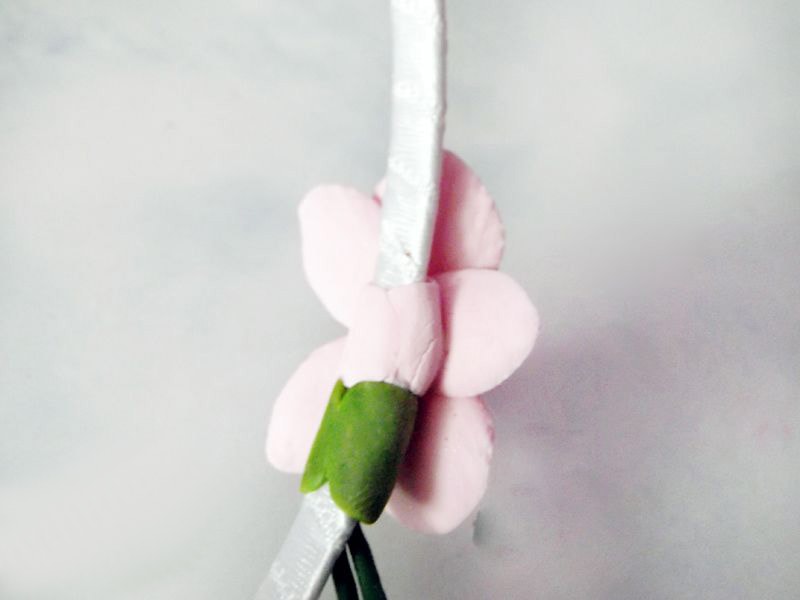
We put the buds together and twist them together. Take a piece of clay and mix with green paint. Put some glue on the hoop and attach the buds. Put clay on top of them and stick round hoop.
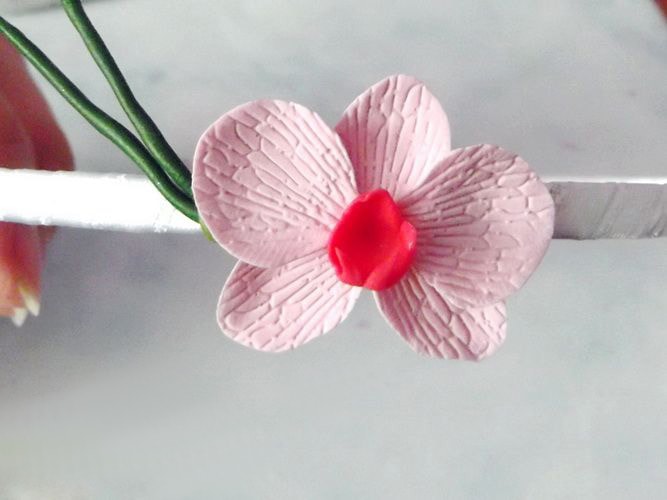
Apply a little glue to the right of the bud and attach a little pink clay. We put glue on top of it and attach the orchid.
We attach the rest of the orchids in the same way.
A small piece of clay, mixed with yellow paint, give an oval shape. We make the top small recesses.
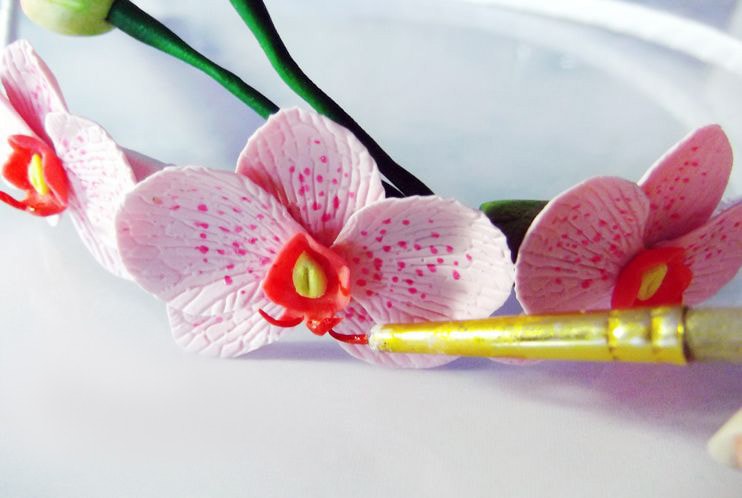
Give the orchids completeness with red acrylic paint. Leave the hoop to dry.
Cold porcelain ideas
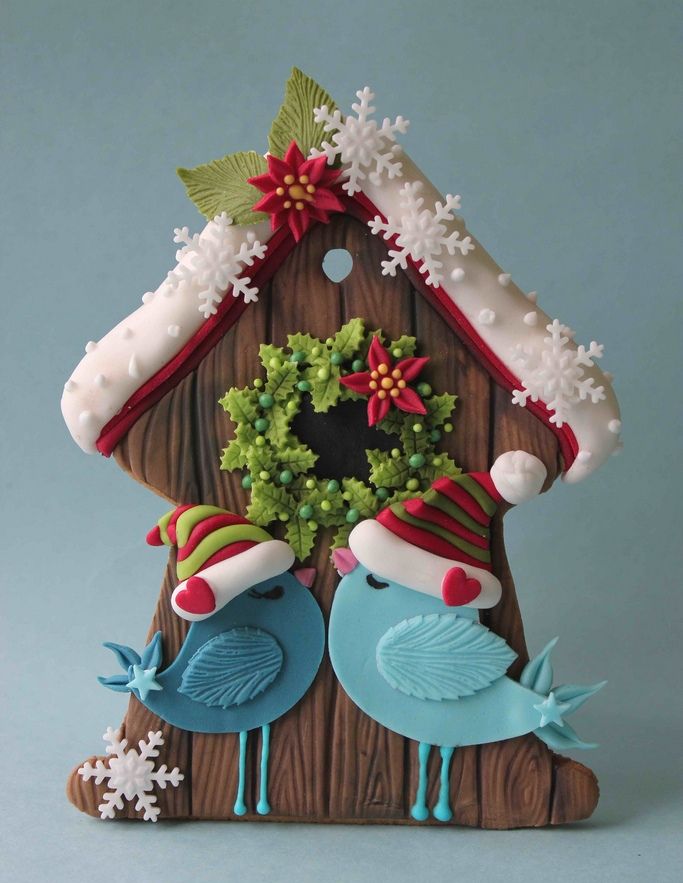
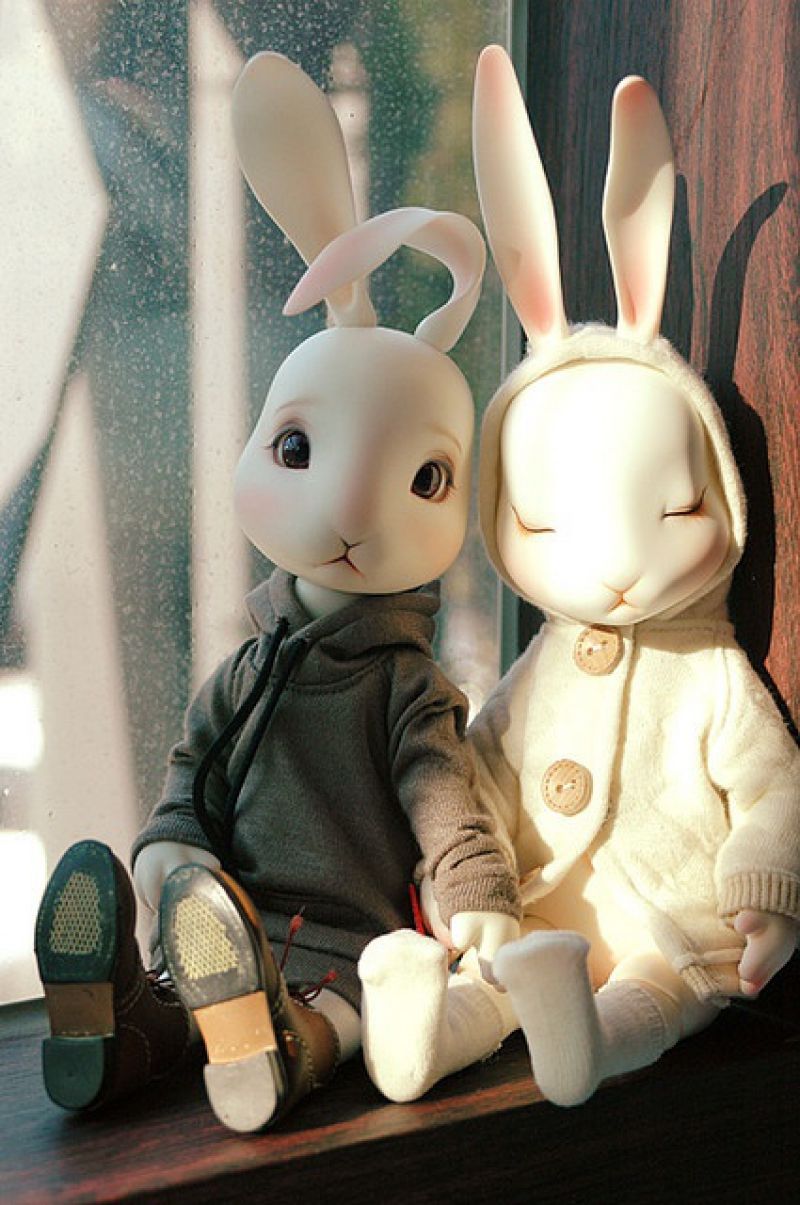
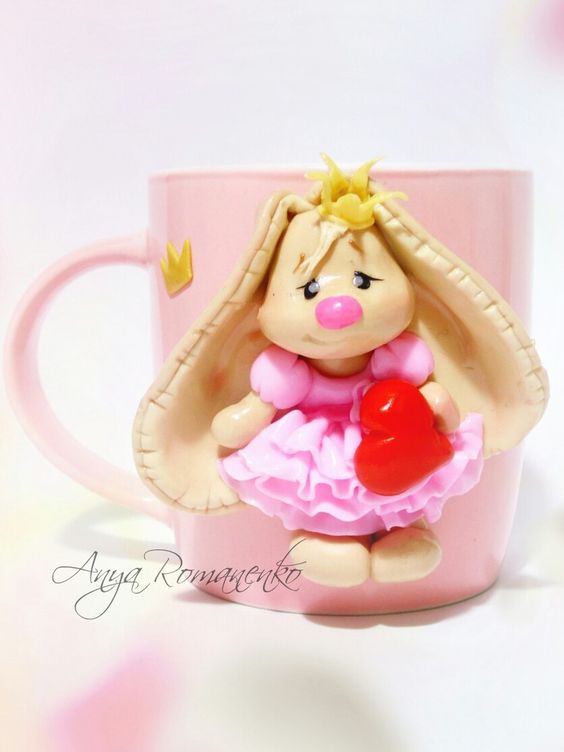
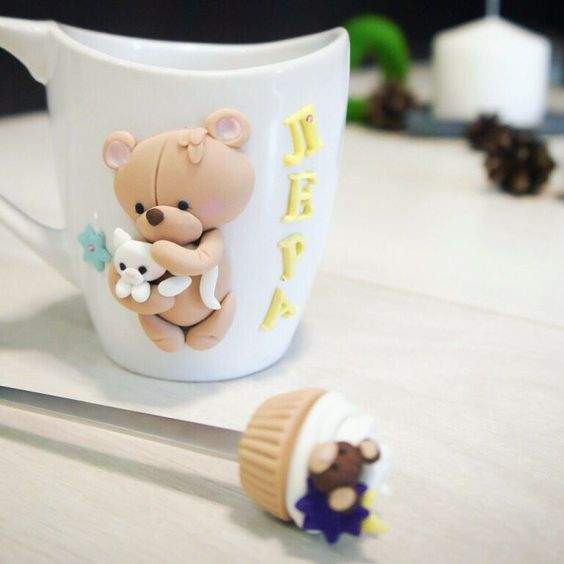
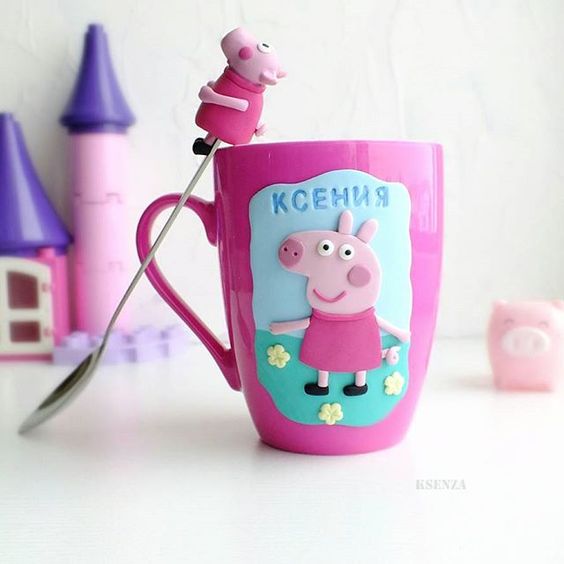
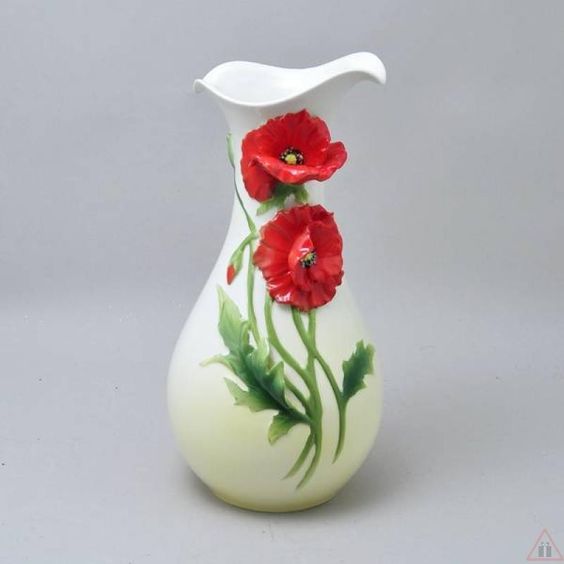
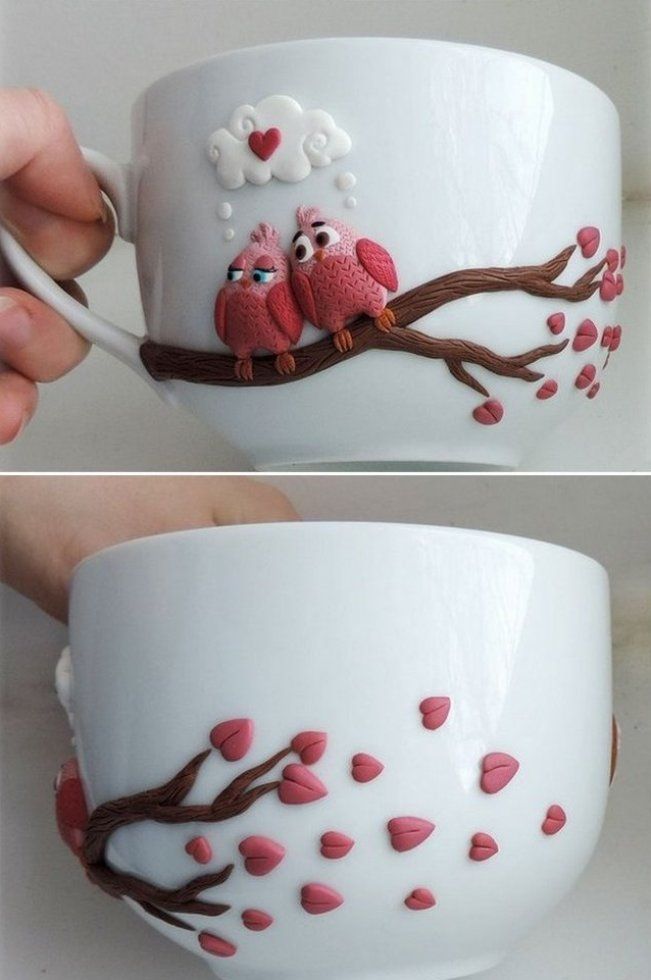
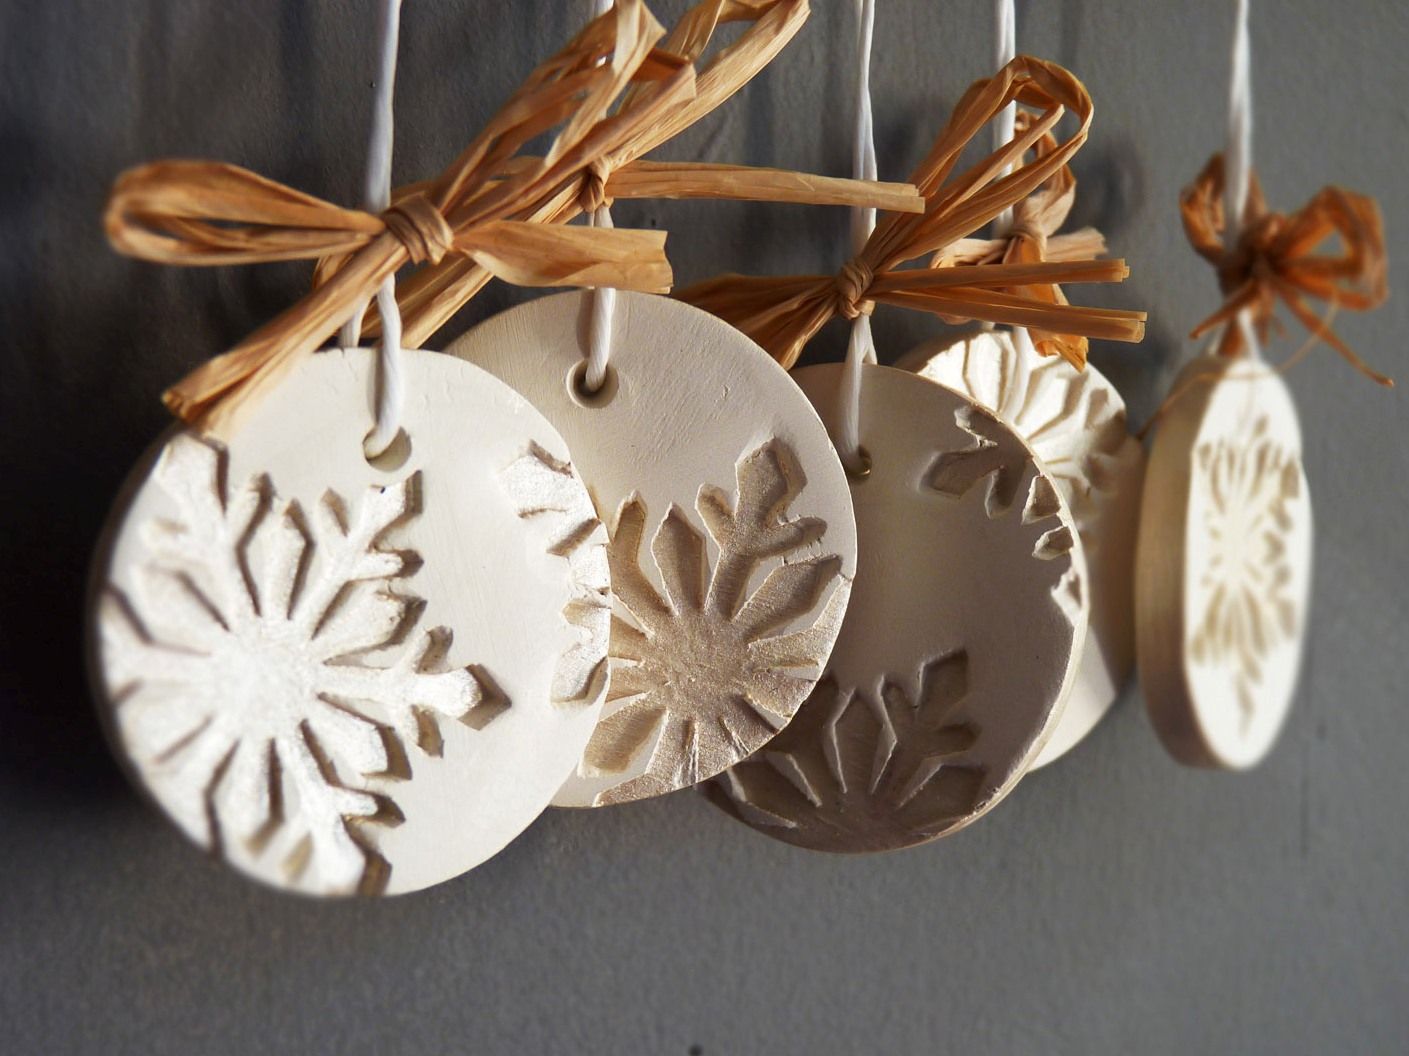
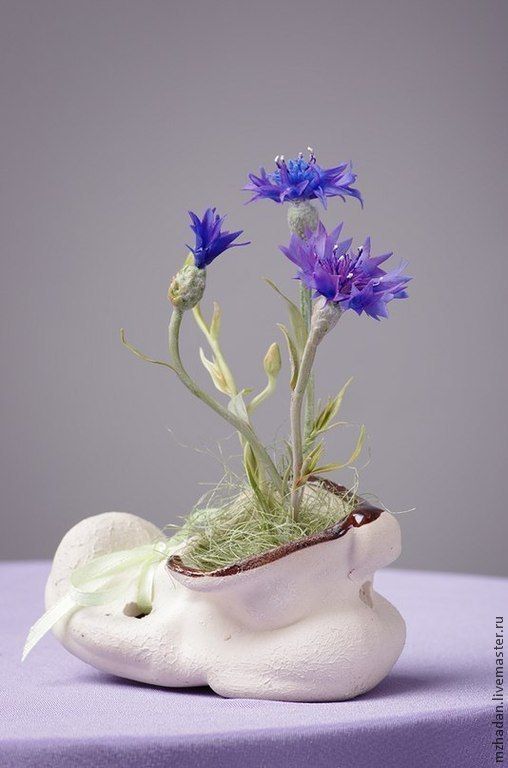
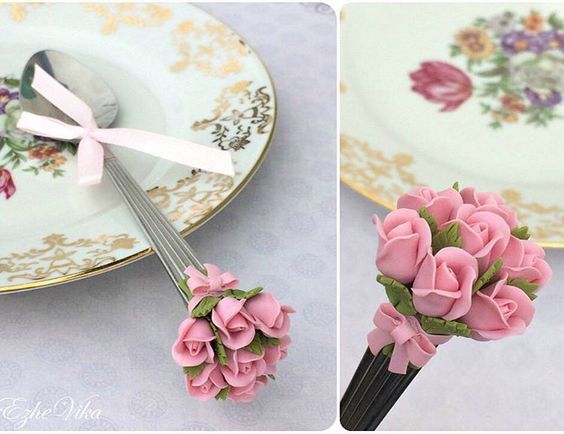
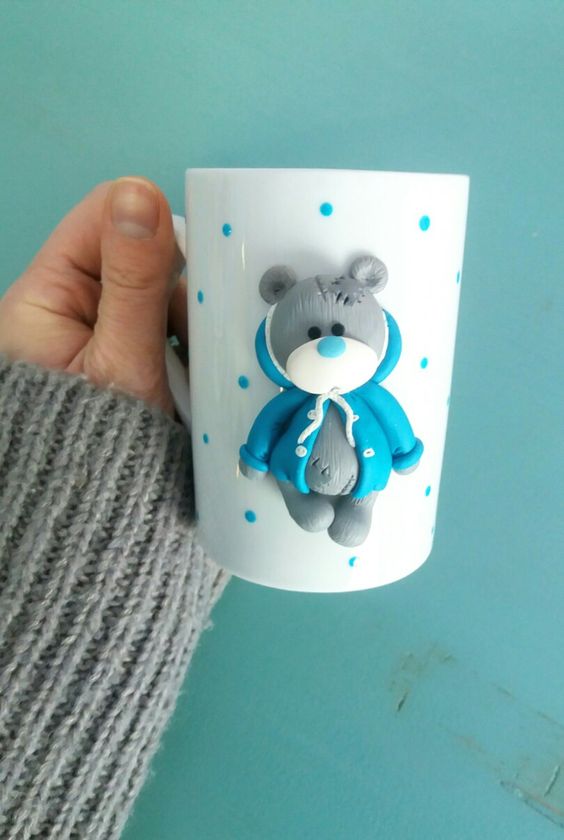
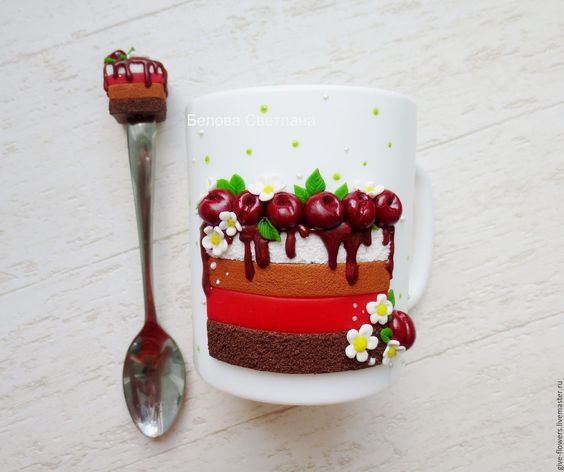
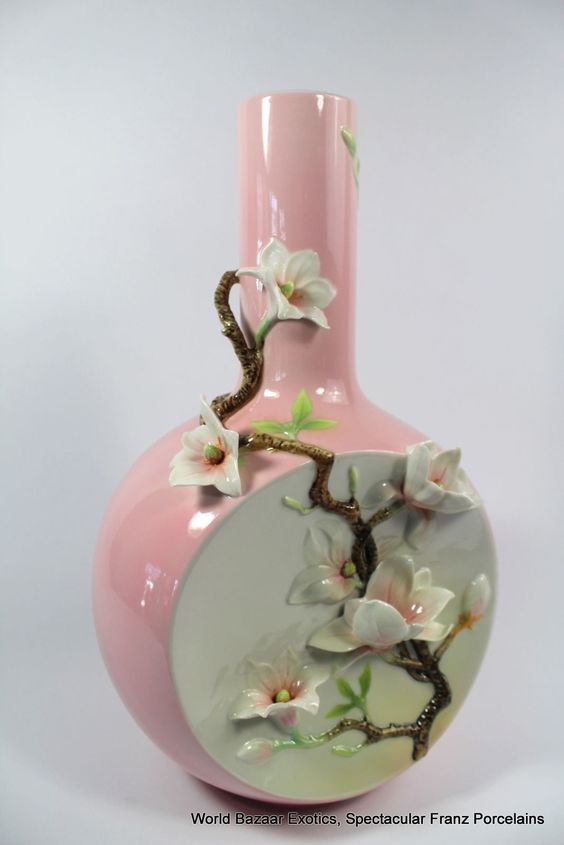
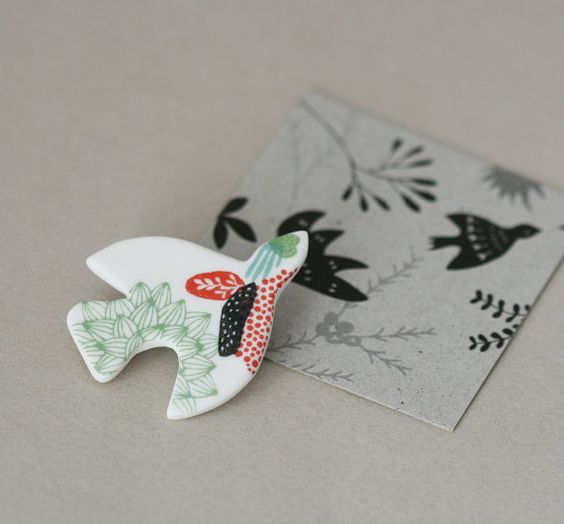
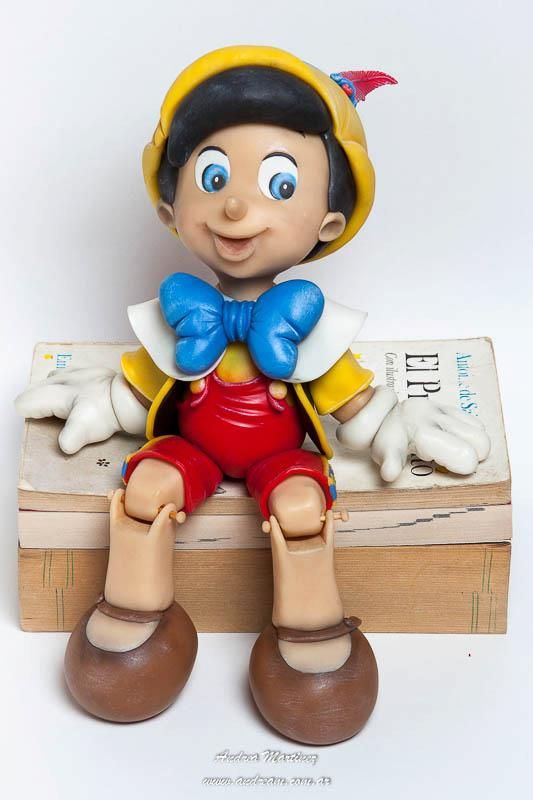
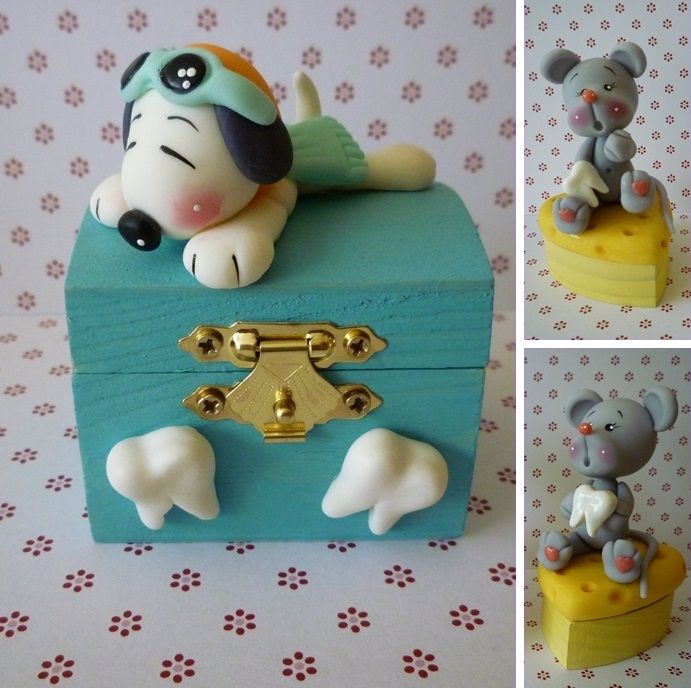
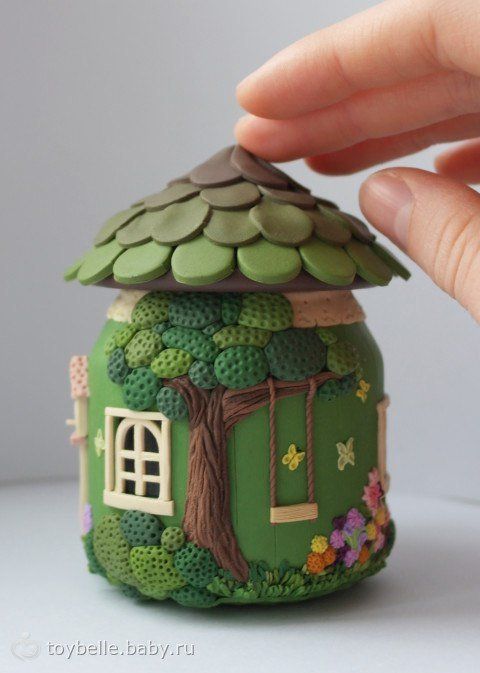
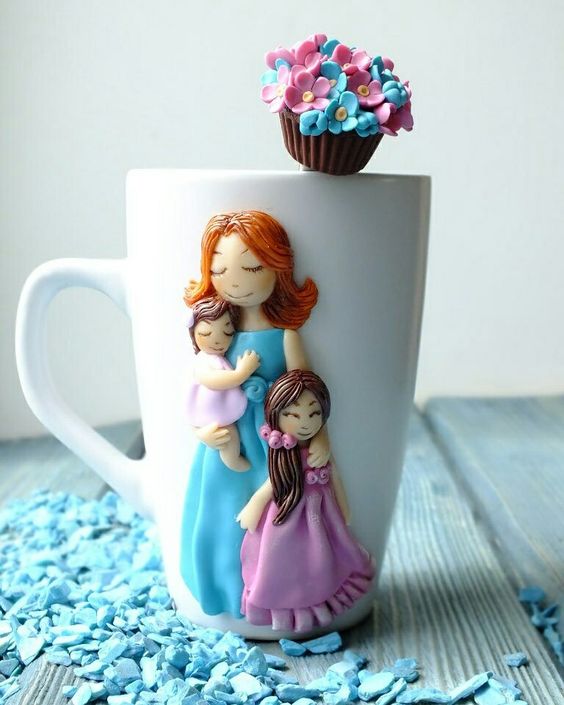
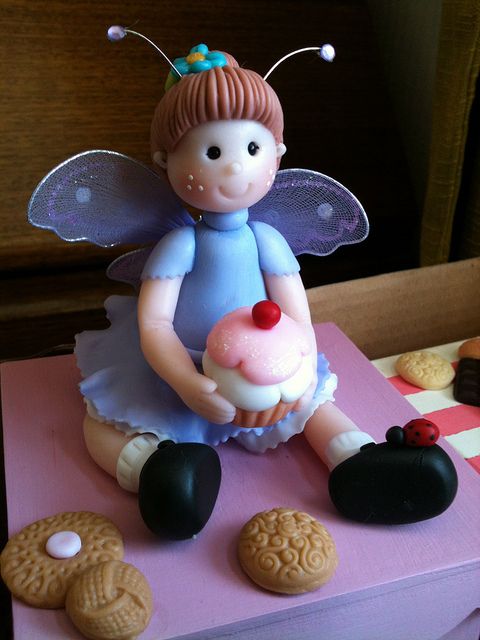
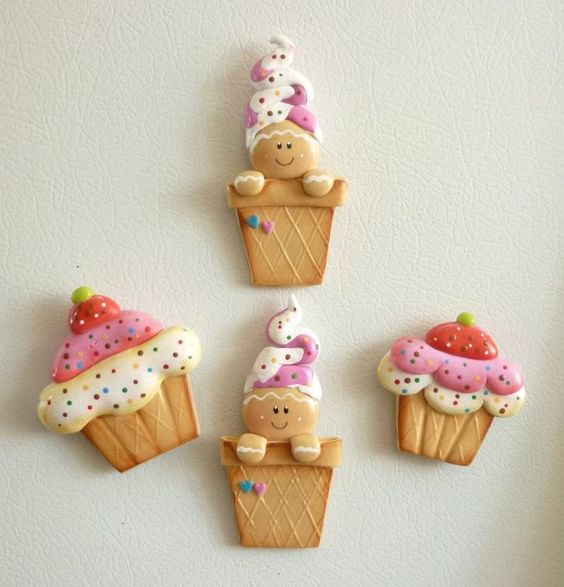
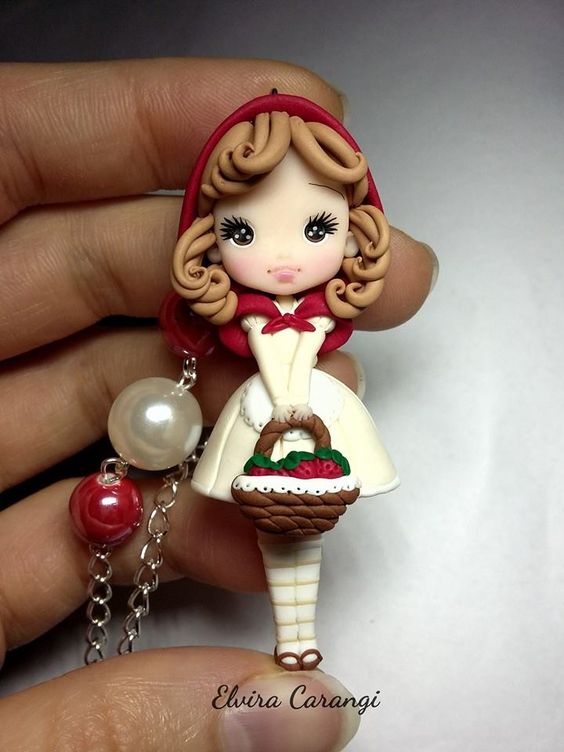
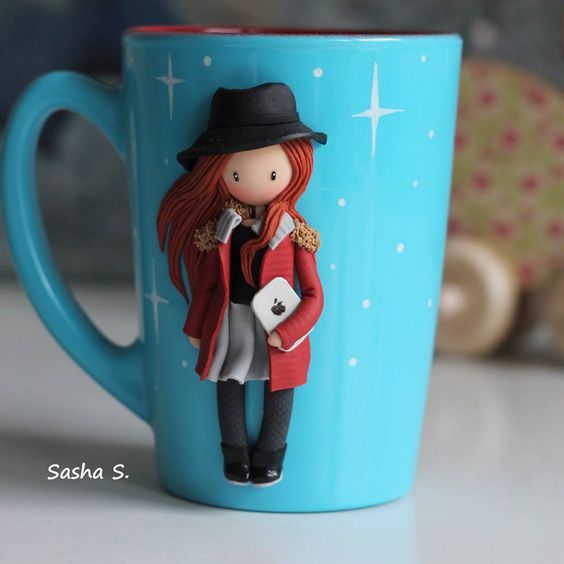
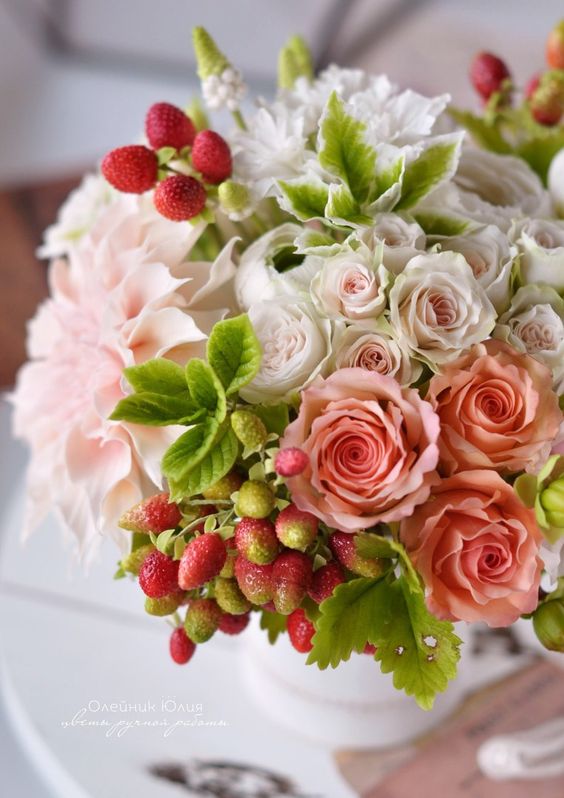
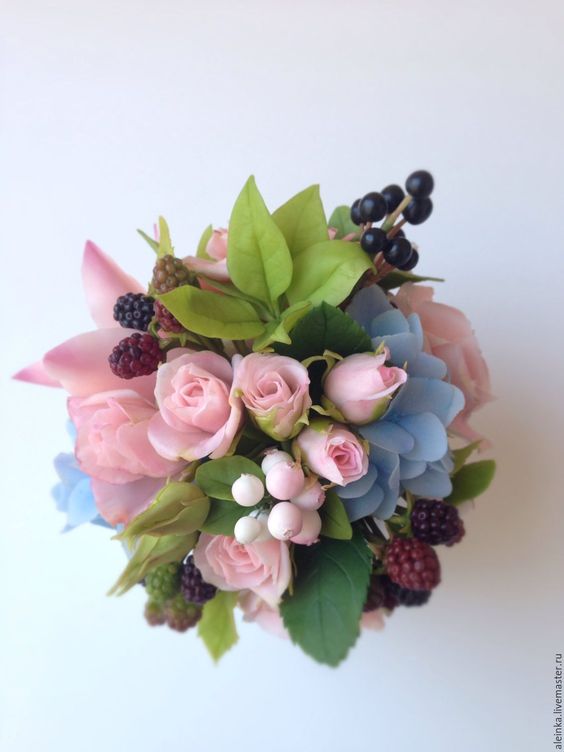
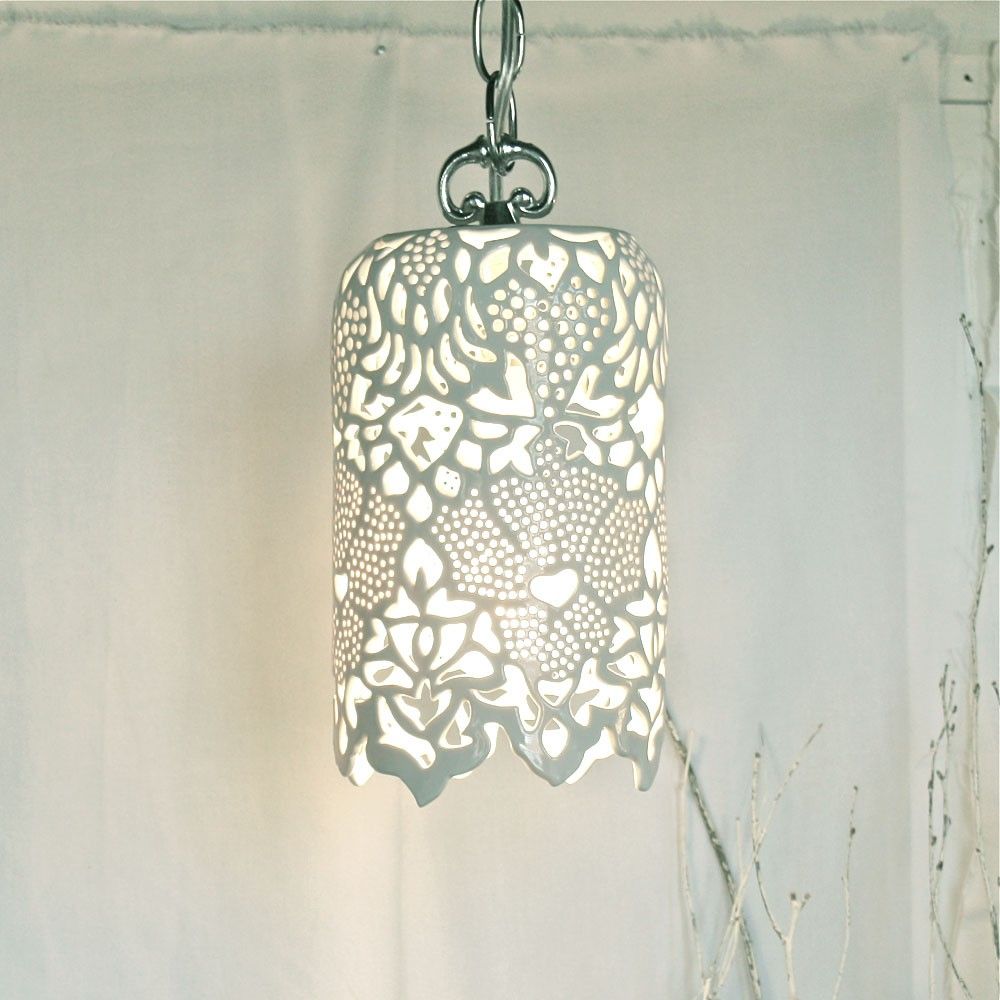
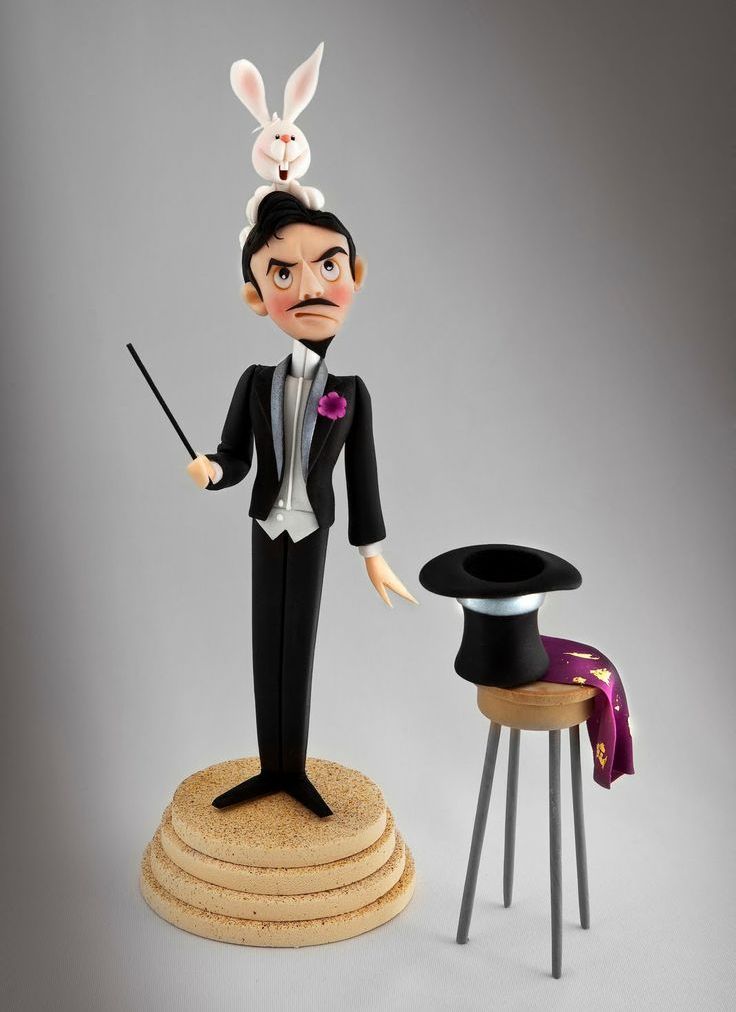
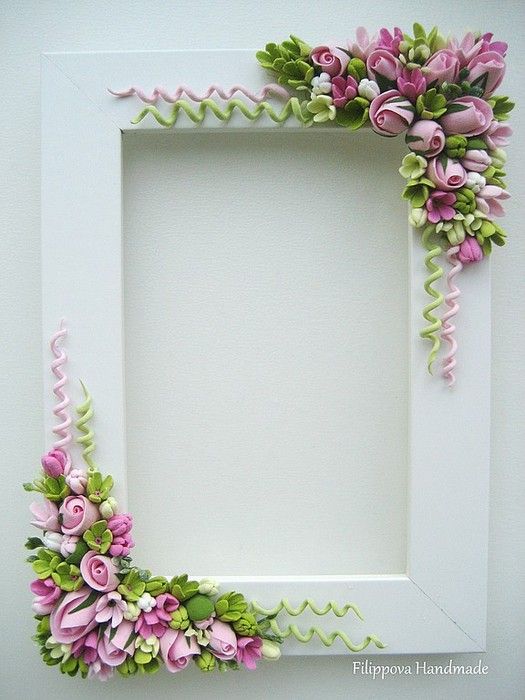
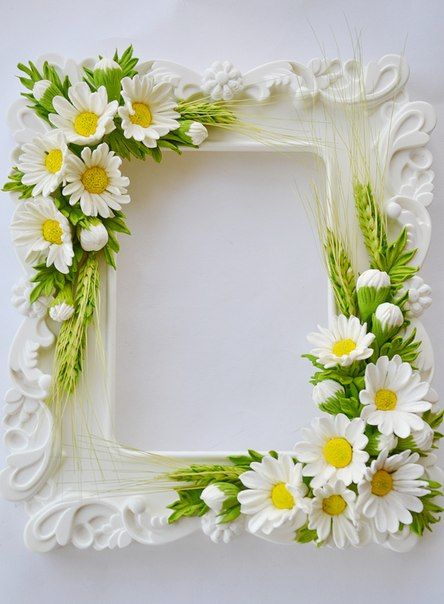
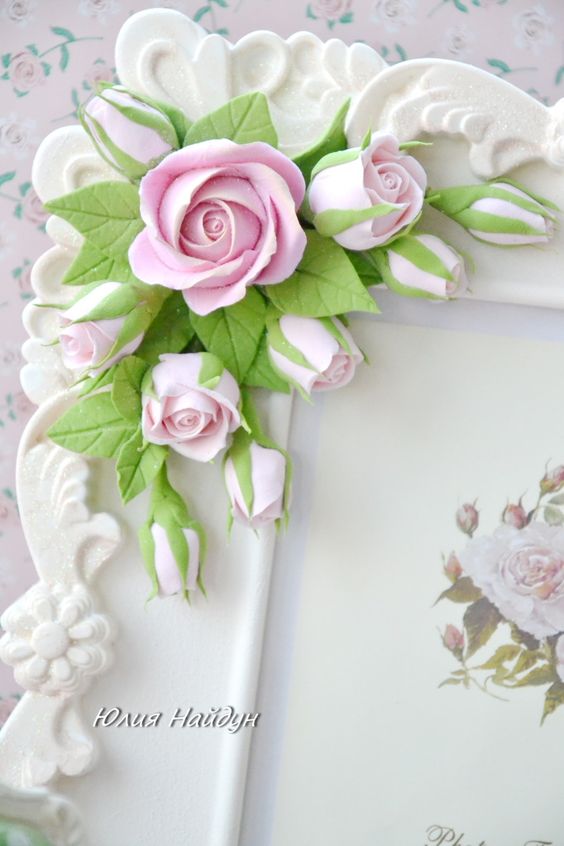
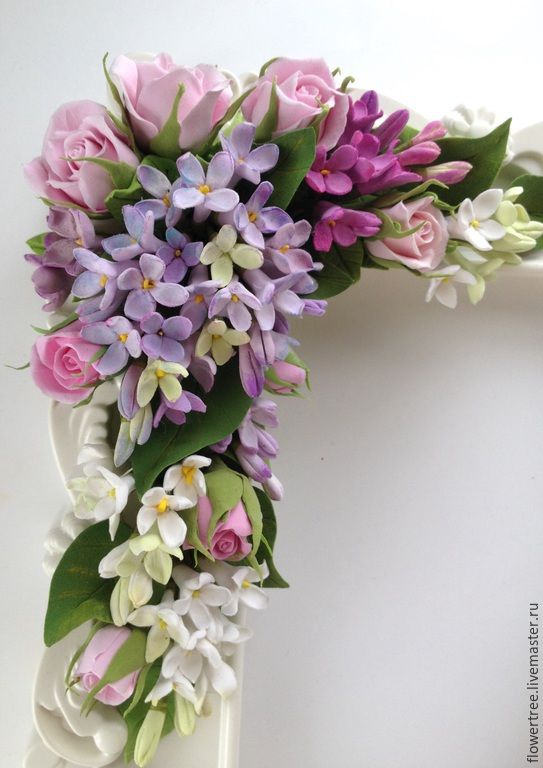
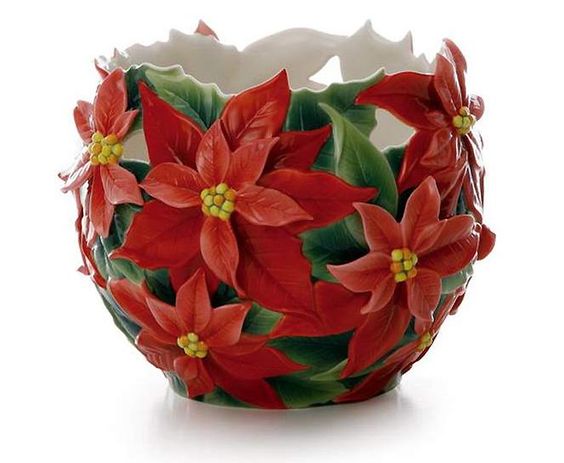
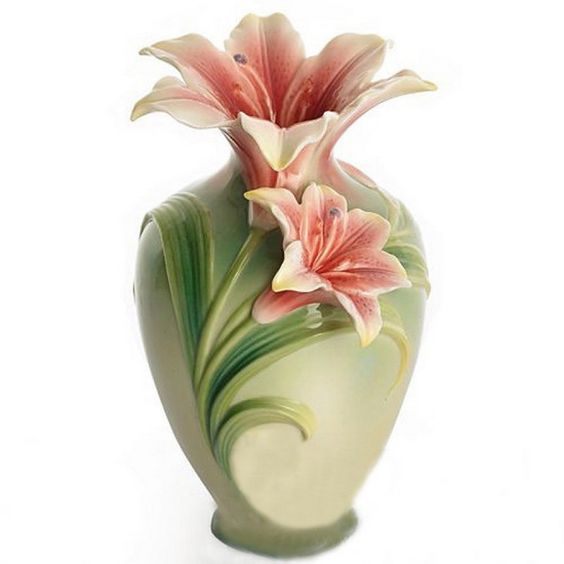
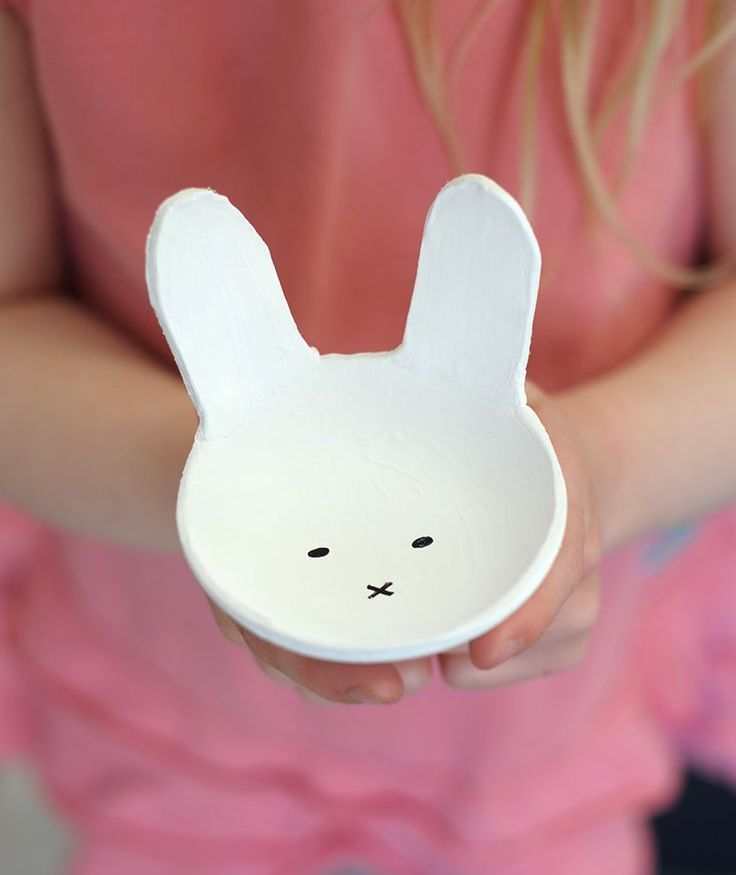
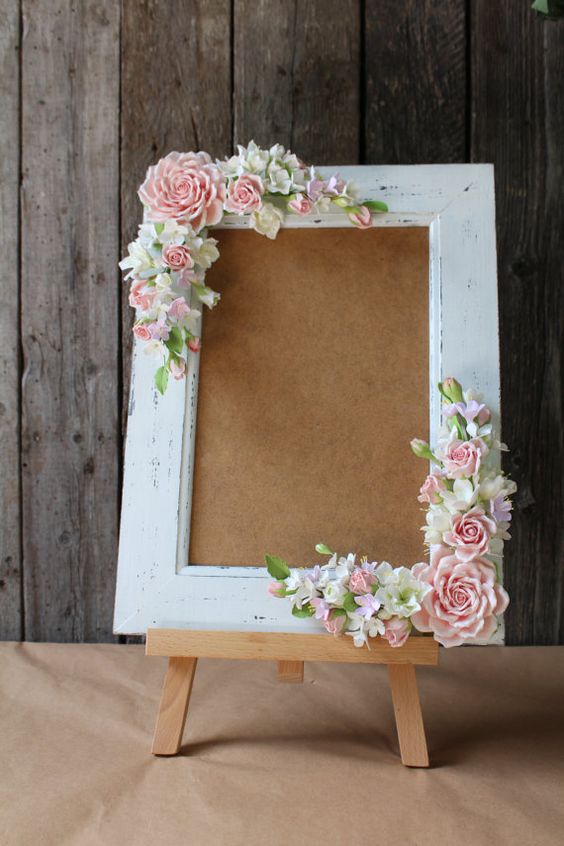
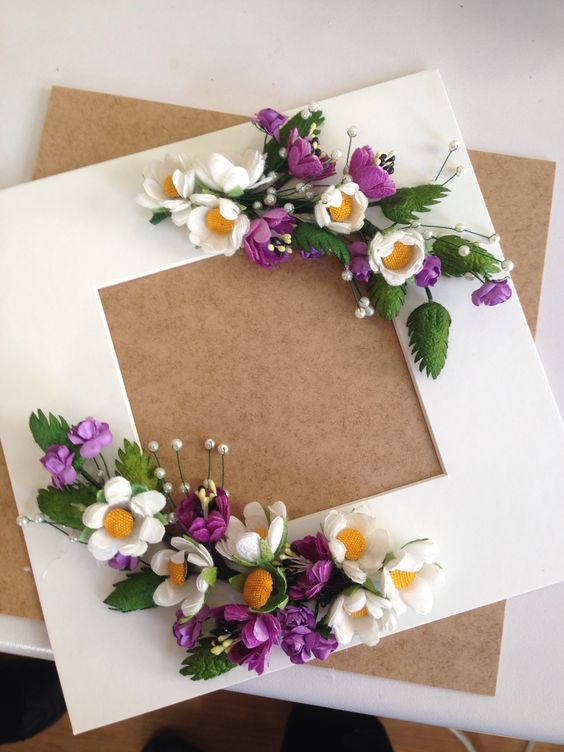
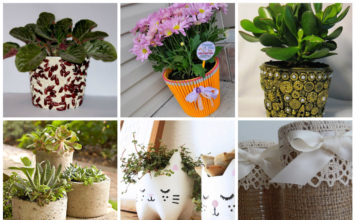
Masters who are engaged in manufacturing products for more than one year, create stunning masterpieces. Among them you can find beautiful photo frames, candy stands, flowerpots and even small lamps.
As you can see, products from cold porcelain really deserve attention. After all, with their help, you can not only decorate a room, but also make unique, beautiful jewelry with your own hands.
Do you know the technique of sculpting from cold porcelain? Which example of the above ornaments did you like the most?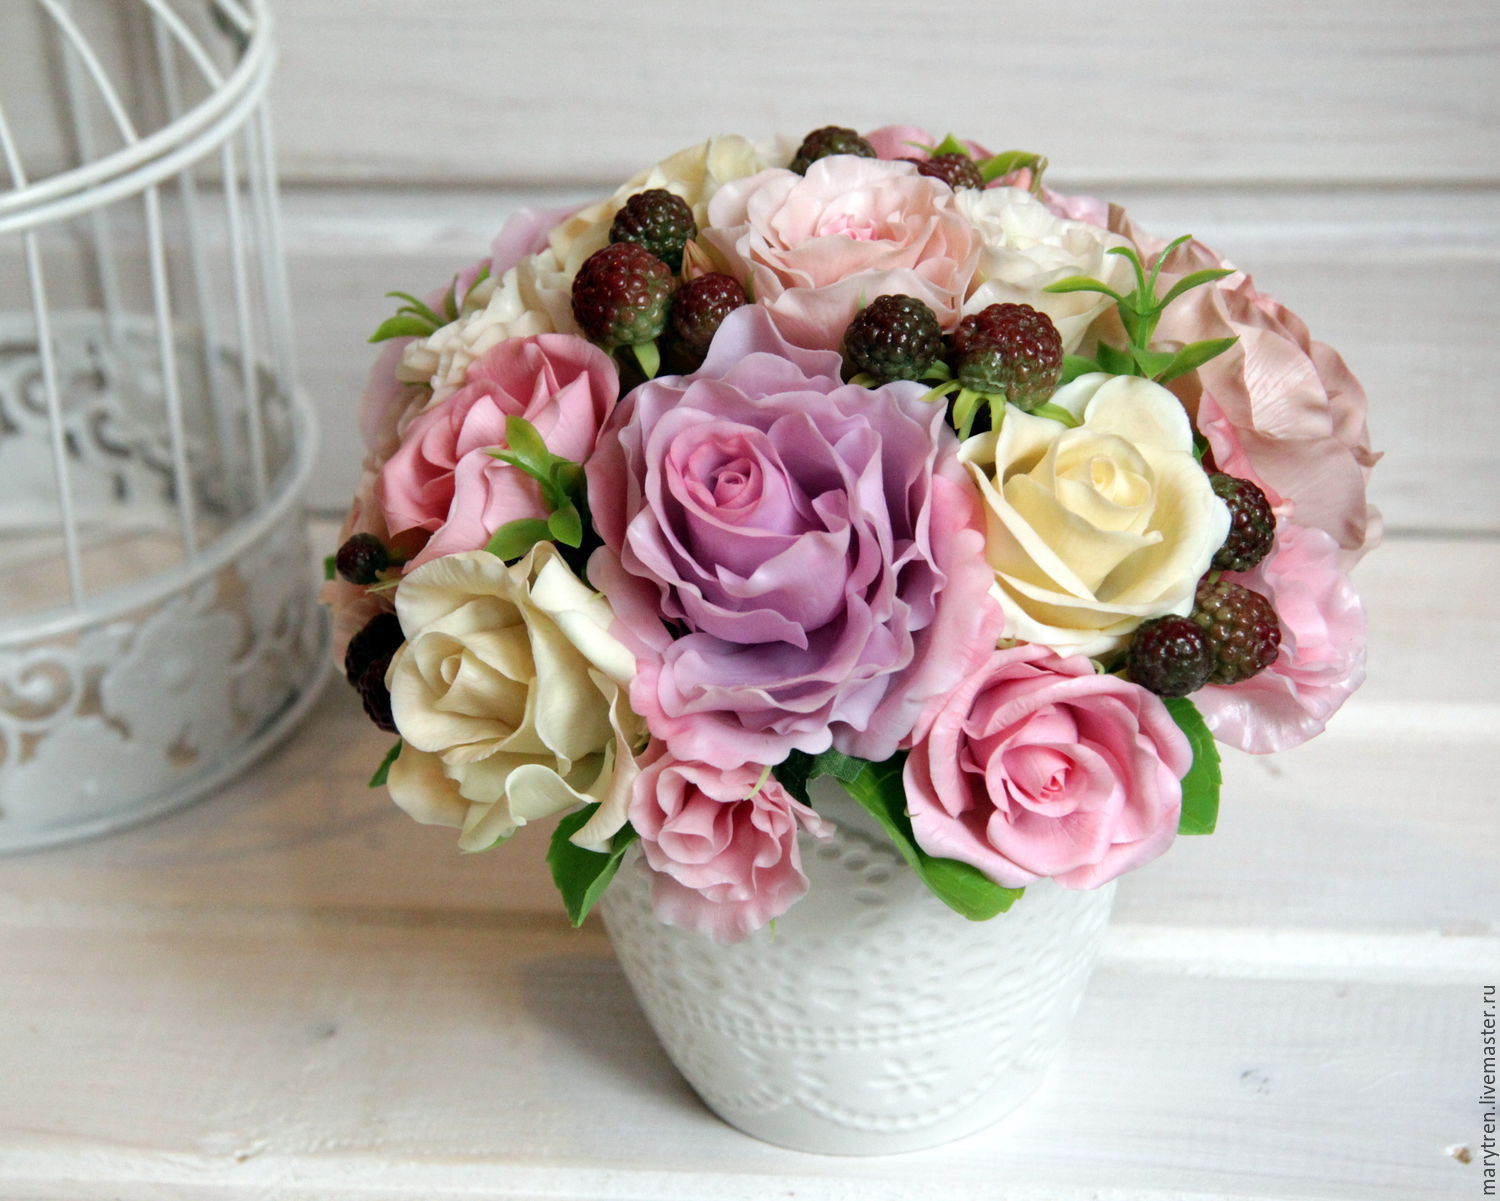



















Thank you for the advice! The topic interests me very much!